Gift
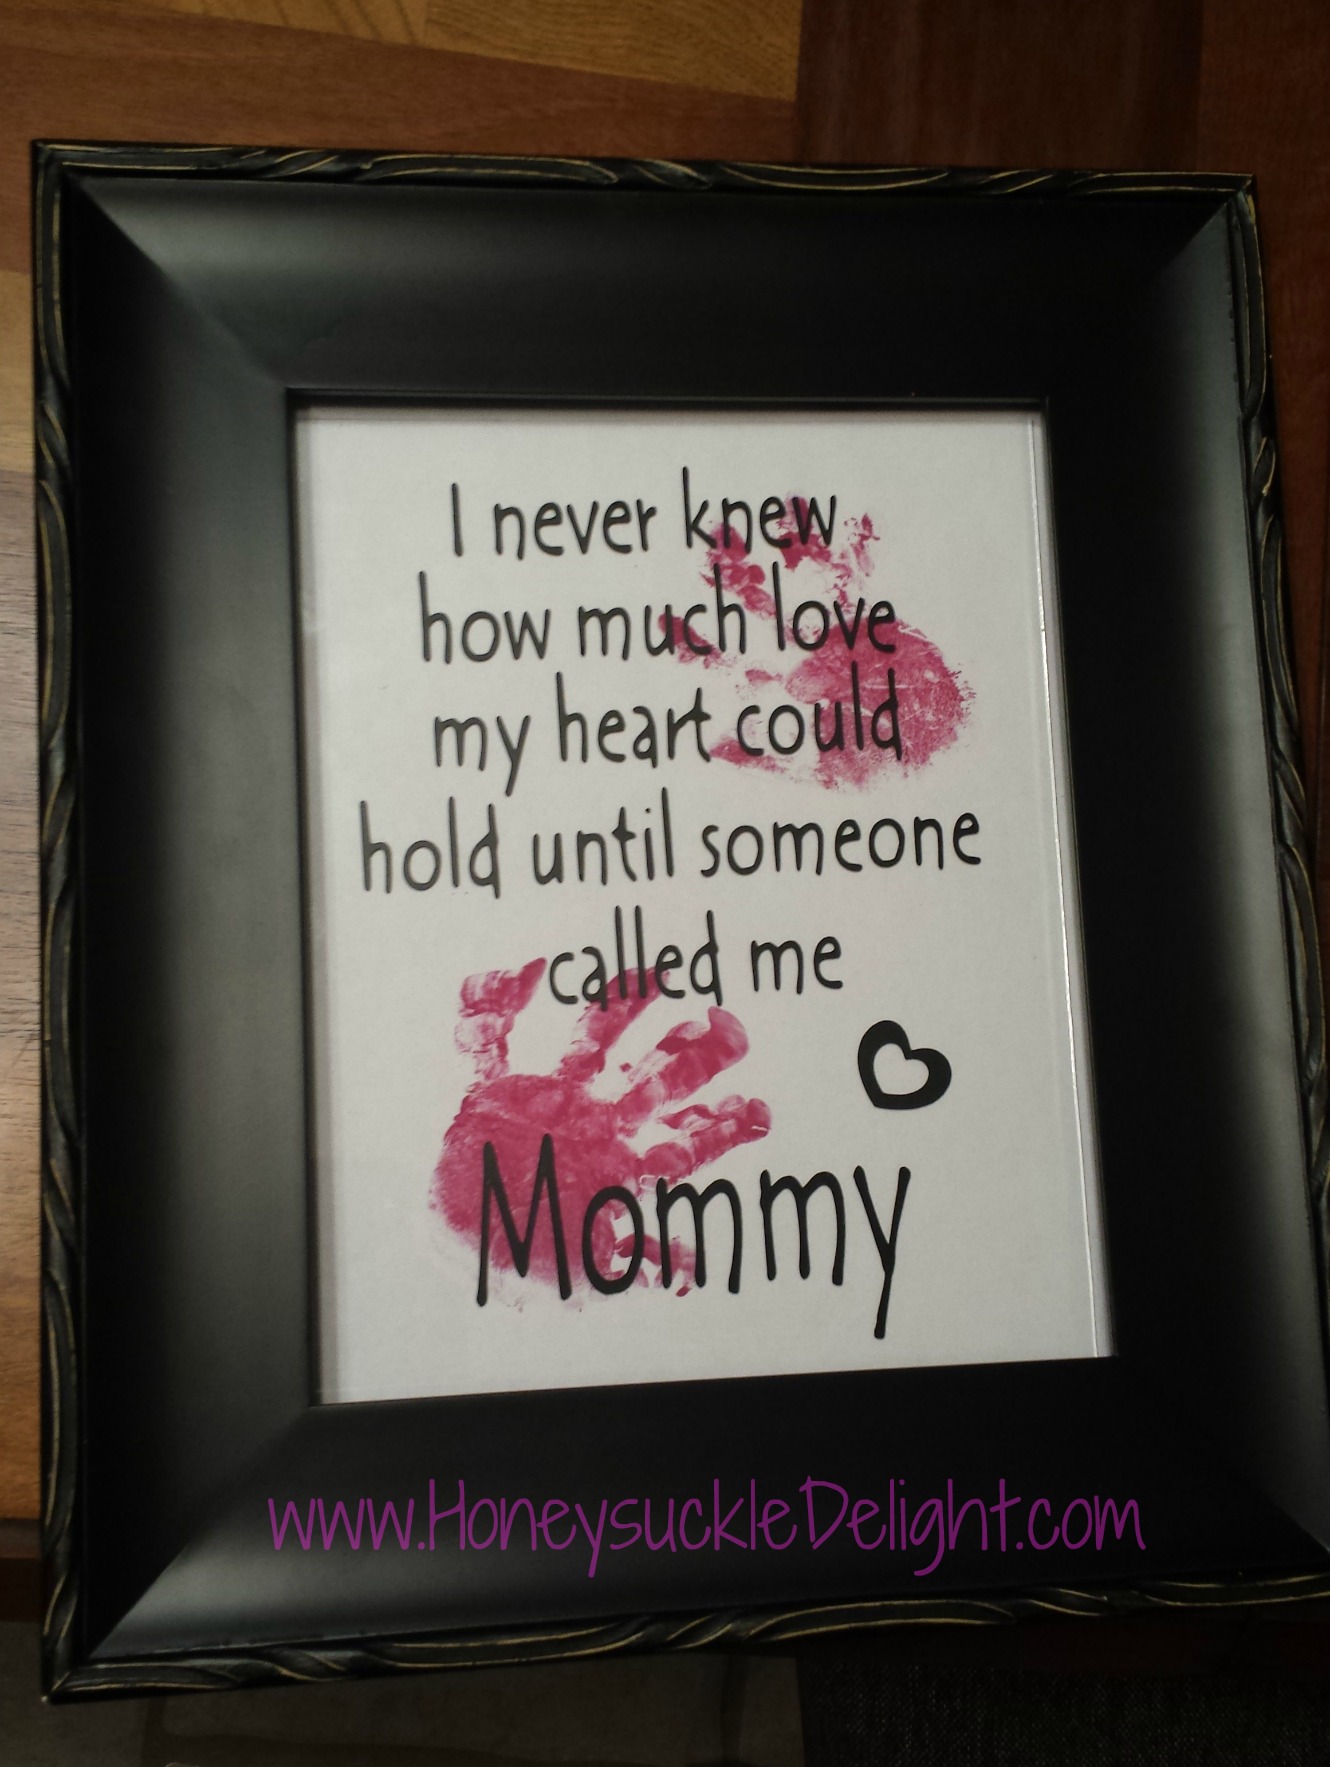
Mother’s Day Frame
I was contacted a few days ago by a high school friend’s Mom for a Mother’s Day gift for her daughter. She sent me 2 pictures. Told me how she wanted to combine the ideas and she wondered if I could help her do it. I didn’t have to think twice. OF COURSE!!
 Supplies needed:
Picture frame (this one is an 8 x 10)
Paint for the handprint
Vinyl
Contact Paper
Cardstock (I used white)
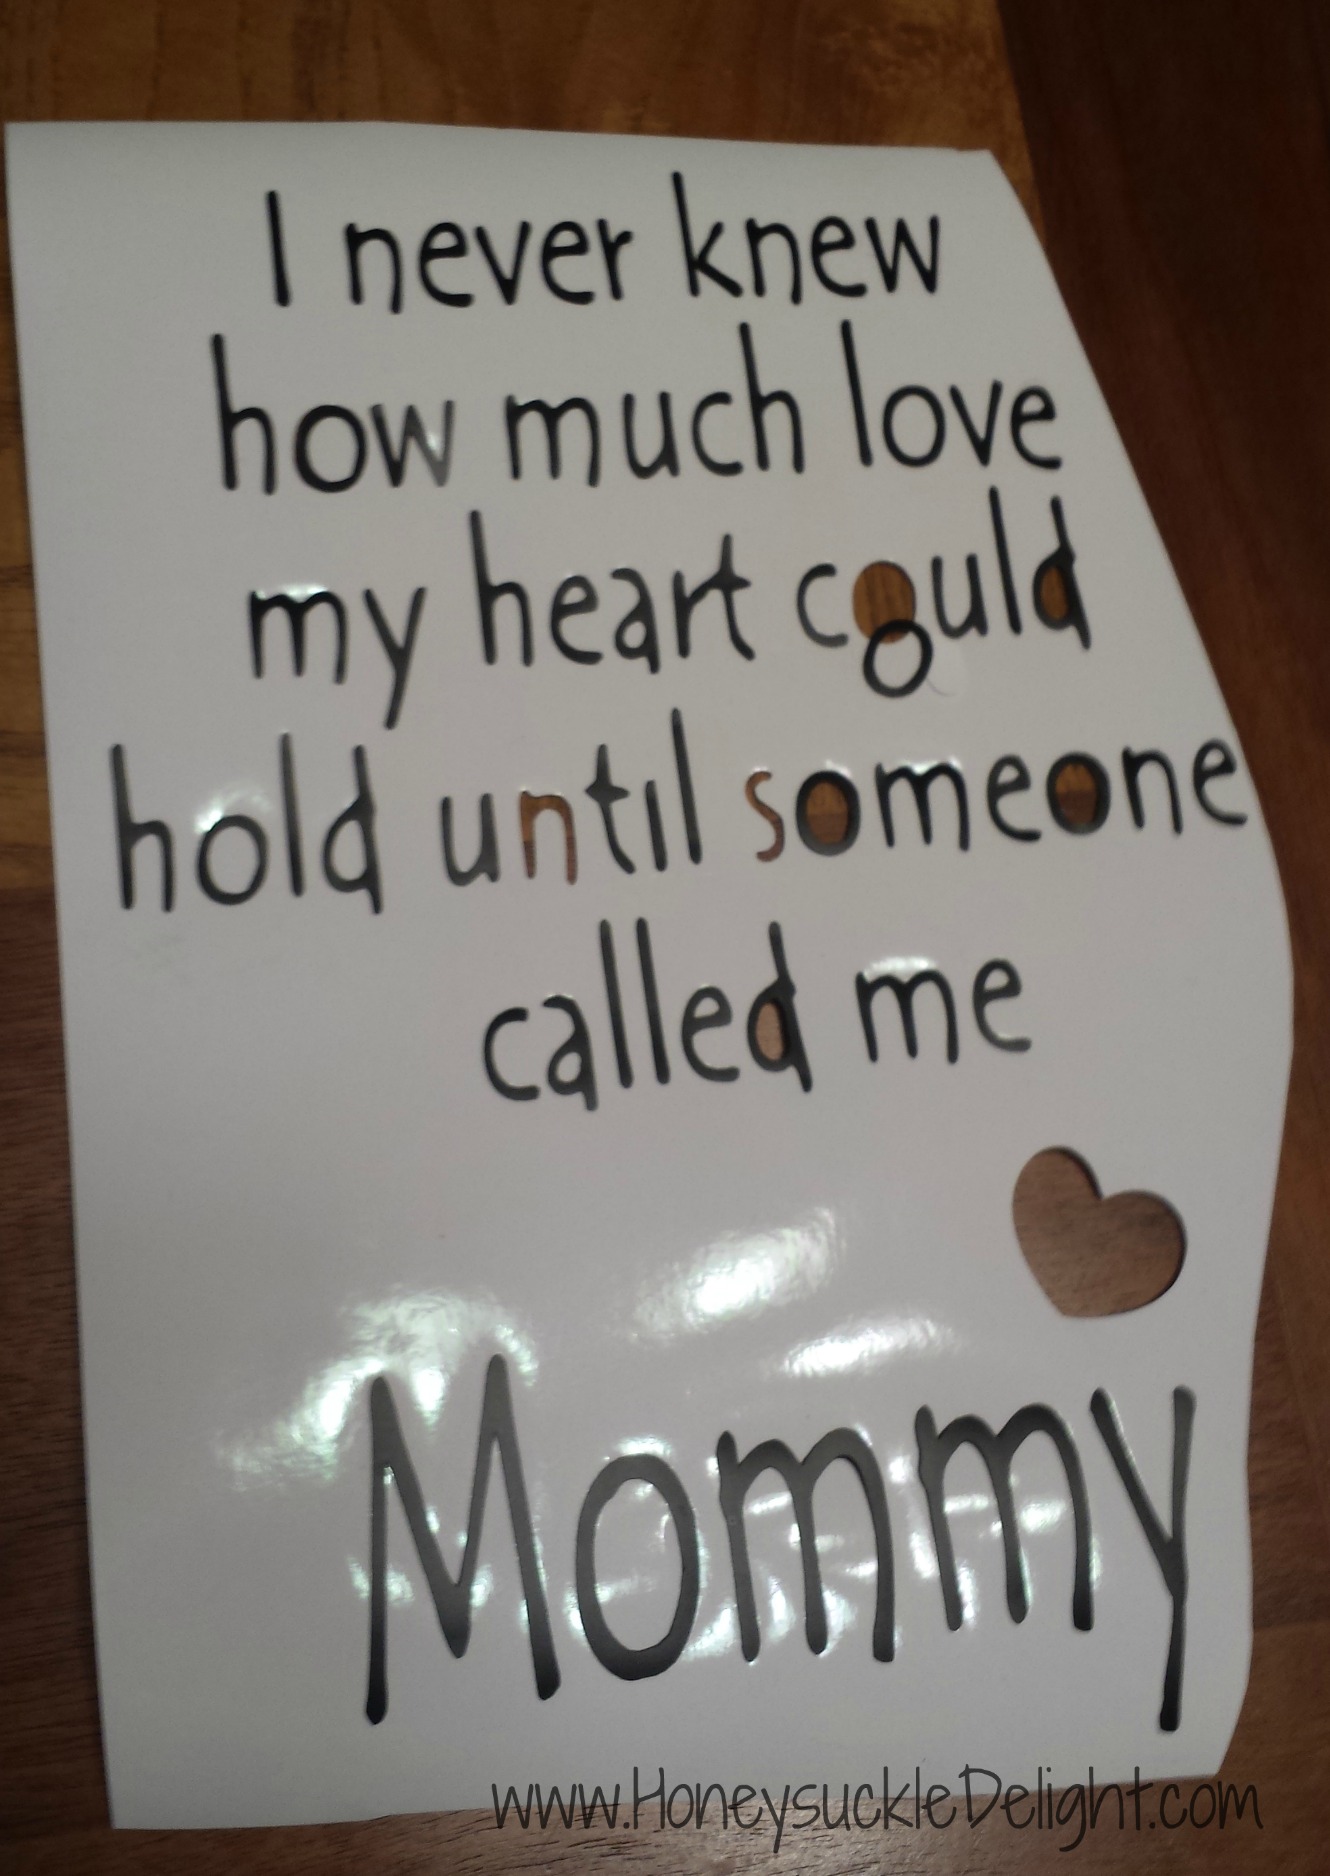
She did the hard part in my opinion! Lol she had to get her sweet one year old granddaughter’s handprint. Just dip their hand in the paint or paint it on there with a paintbrush. Just make sure you have plenty of baby wipes handy. I promise you will not do this in one try. But it will be well worth the hassle in the end! Place the hand prints on the back of the glass. You could also do it on the paper you intend to use as backing but placing the handprint on the glass will allow you to change the color of paper if you choose later on to match decor. Sorry for the glare! But you get the picture.

Now get out your cricut and print out the saying. I used the font Tempus Sans ITC. The words measured a total of 9 x 6.25. This allowed just the right amount of space on each side in the 8 x 10 frame. Make sure to pay attention to your settings on your cricut or you will cut too deep like I did. Since it was only the heart and one o I was still able to make it work.
Use your contact paper and transfer the vinyl onto the front of your glass. Cut your cardstock you plan to use for the background and you’re ready to go!
Teacher Appreciation Gift
I must say my girls have the most awesome teacher this year. I am so very grateful for that! Just think about how much time and energy they all put into loving on and teaching our kids. The time that I am unable to be with my girls I am so thankful knowing they are still taken great care of. For that, I think anytime is a great time to say THANK YOU! But since it is Teacher appreciation week, I figured this was the perfect time to give their teacher and the aide in their class a gift! So since vinyl is one of my favorite things, I made them each a cup and filled them with candy. Because who can’t use a cup and candy! Right?

I use a program called Sure Cuts a Lot along with my cricut. If you don’t have that program, you could still use your cartridges to accomplish the same thing. But I’ll be honest I don’t know how to do the shadow without it.
Start by typing your word for the saying. I used the font Segoe Print. It measures 3.61 x 3.22. The word TEACHER is a shadow blackout rounded. Make sure to group your words and then meld them so they will cut out together where they overlap. I cut out my saying and the teacher’s name in turquoise. Once it cuts, use your contact paper to transfer onto your cup. Press down hard to get out all the bubbles before you pull off the contact paper.
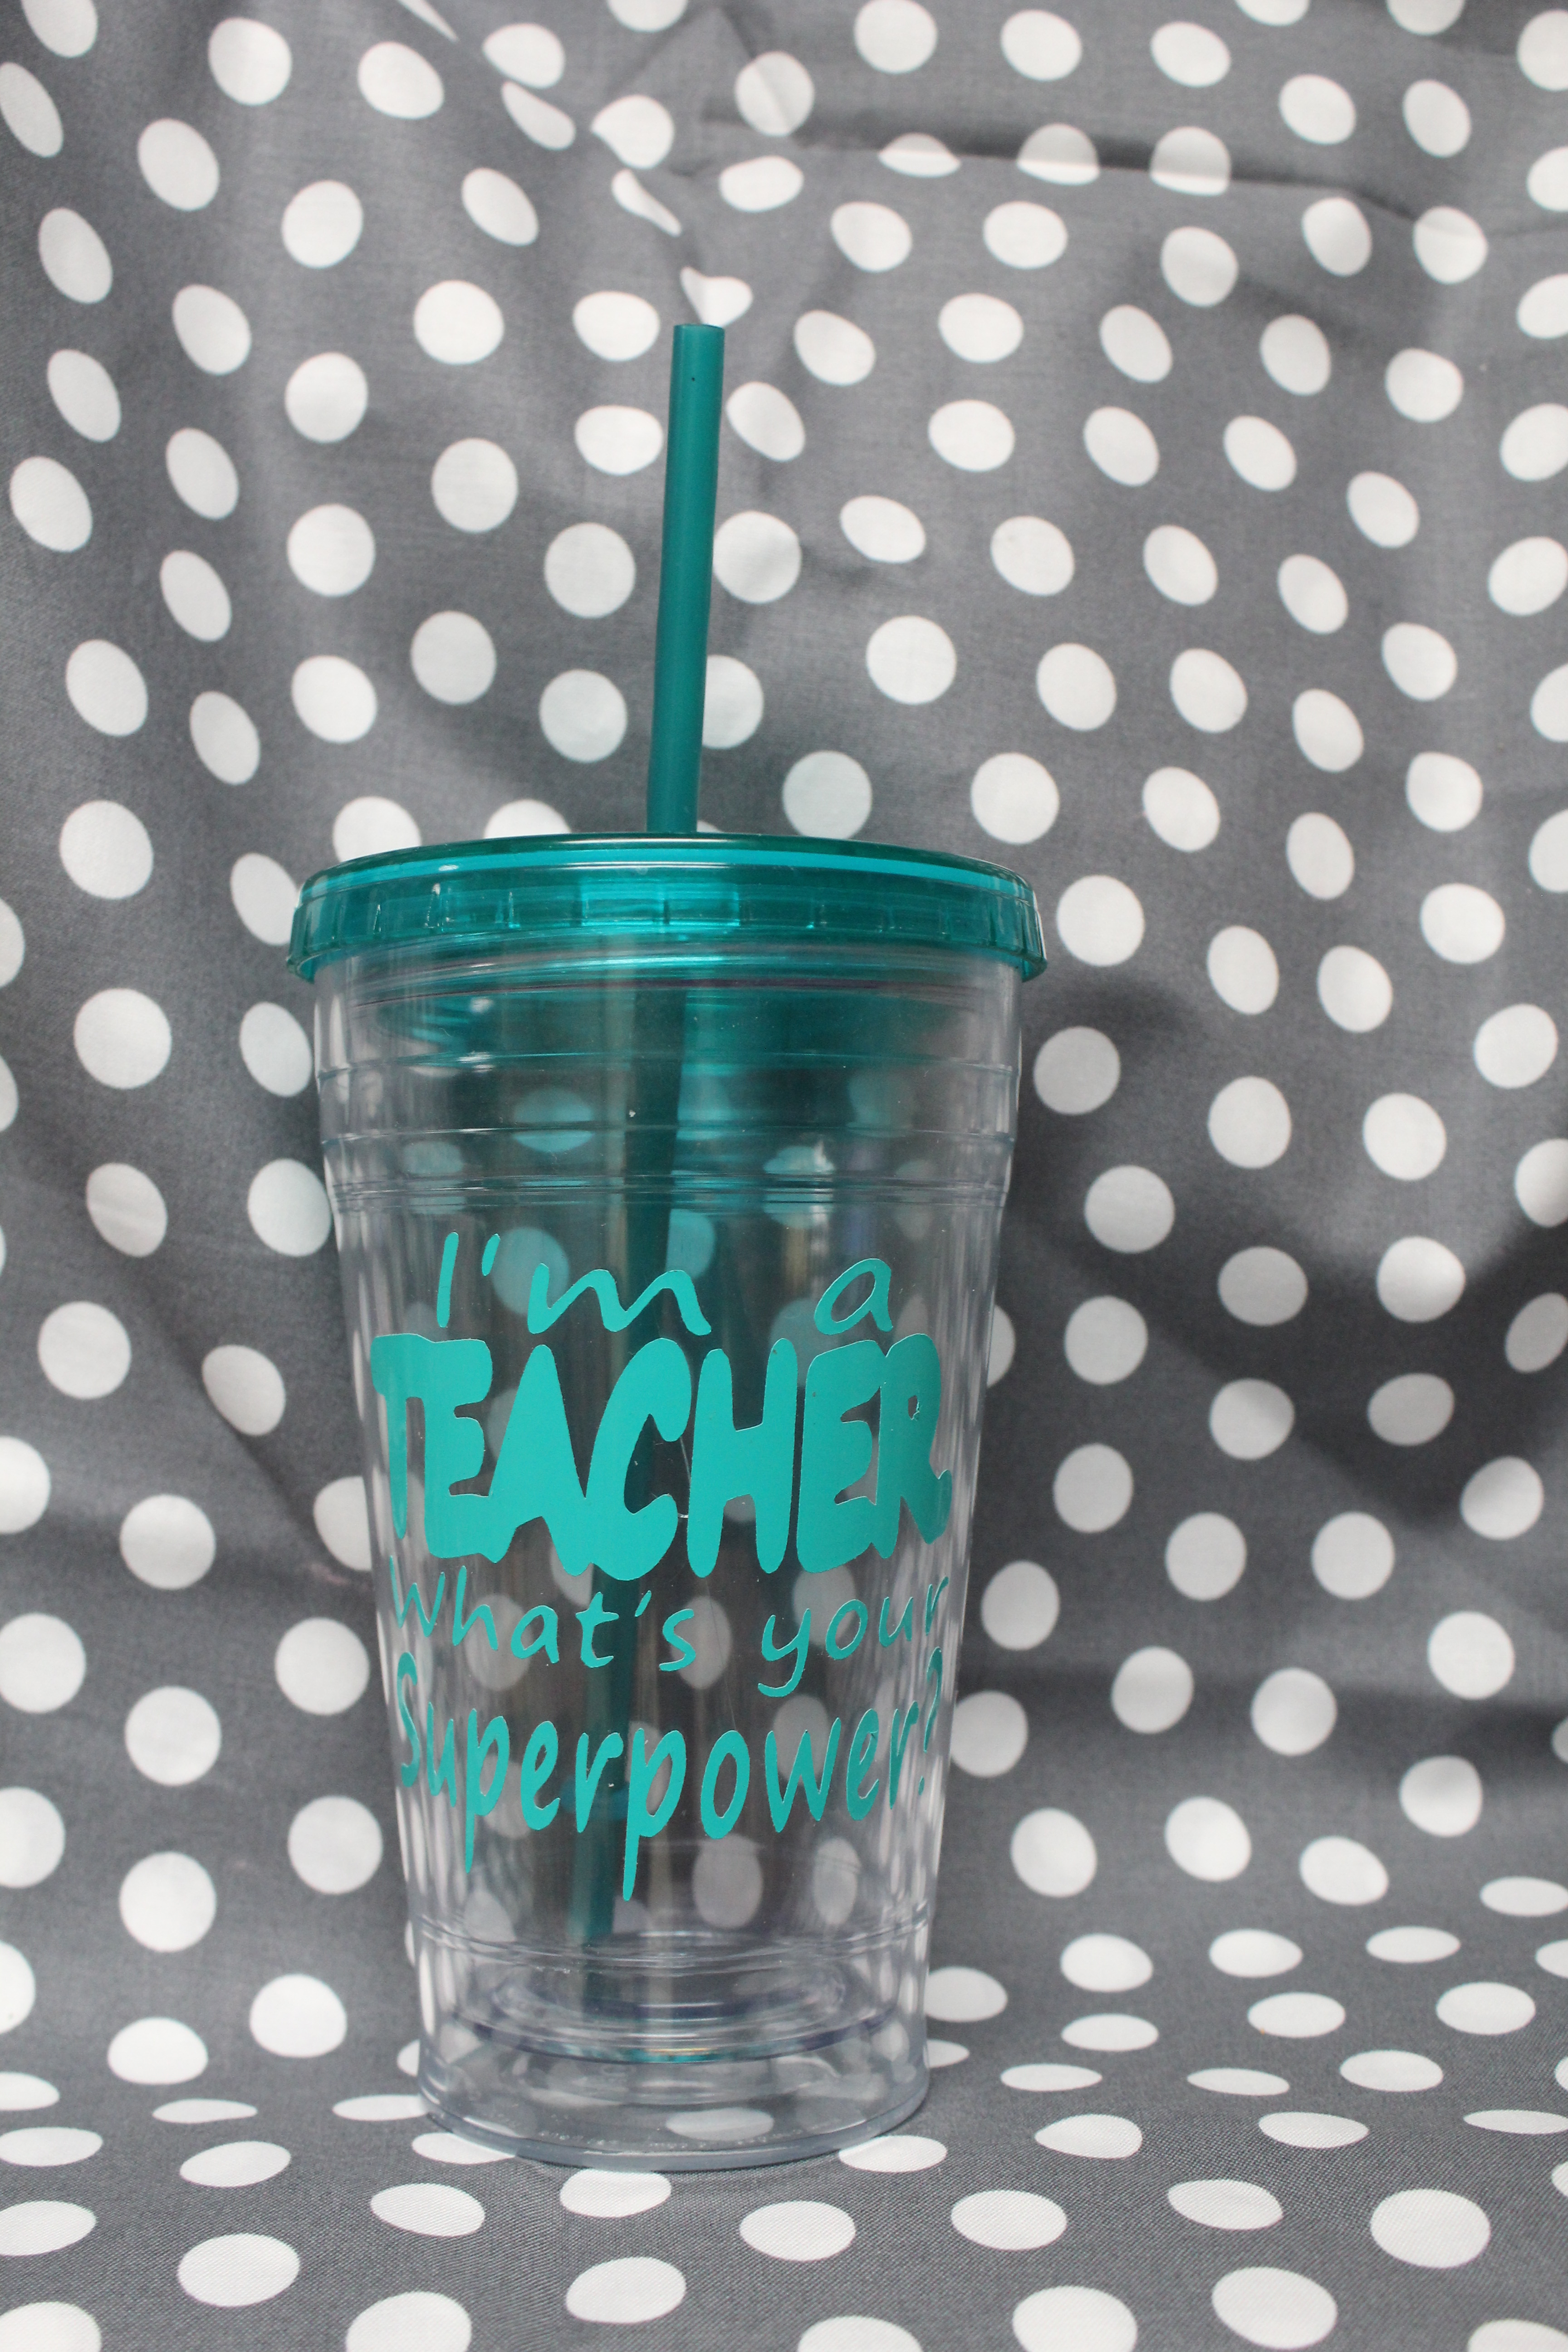 I used white for the shadow for the teacher’s name and also for the word TEACHER so it would stand out more. I cut these out together and then used my contact paper again to transfer them onto the cup. You can use any size and font that will fit on your cup. I made the shadow on the teacher’s name 3 x 3. Then used 2.77 x 2.74 for the name. This is just what size it ended up when I made the shadow a 3 x 3. Again I used a shadow blackout rounded measuring a 10 since I thought it matched the font well.

Now do the same starting with the white shadow teacher’s name and follow with the teacher’s name. Super easy but so special!
Fill it with candy and let your kiddos make a cute card! A perfect teacher gift!
