Personalized Gift
Teacher School Supply Bouquet
 Today my girls had their first day of school! The summer flew by this year. It seems like they just got out but they were all 3 super excited to go back! Which makes it much easier on Momma. I’ve been thinking about doing a school supply bouquet for a teacher gift for a while but just never sat down and tried it. Until now. Because what better gift to give the teachers on the first day than new school supplies? It was also so much easier than I thought it was going to be. Which is always a plus. I see many more of these bouquet gifts in the future!

Supplies needed:
Bucket
Floral Foam (Bought at Dollar Tree)
Ribbon (21.5″ is what I needed along with making a bow)
Popsicle Sticks
Washi Tape
Scissors
Glue Gun & Glue
Vinyl or Letter Stickers
School Supplies (And chocolate. I promise your teacher will thank you!!)
 Start by cutting your foam to fit in the bottom of your bucket. Then using the glue gun, glue this in the bottom. Use plenty of glue. This is going to hold all of your supplies and needs to be very sturdy or it will come out.

While your glue is setting on your foam and before you start adding in your supplies, add your ribbon, bow and any decorations you want on your bucket.

Now it’s time to personalize. I used my cricut and vinyl but if you don’t have that available, Hobby Lobby and Michaels have really cute stickers that could be used instead.
 Now take your popsicle sticks. I found these colored ones at the dollar tree. Using your scissors, cut the bottom so there is a point.
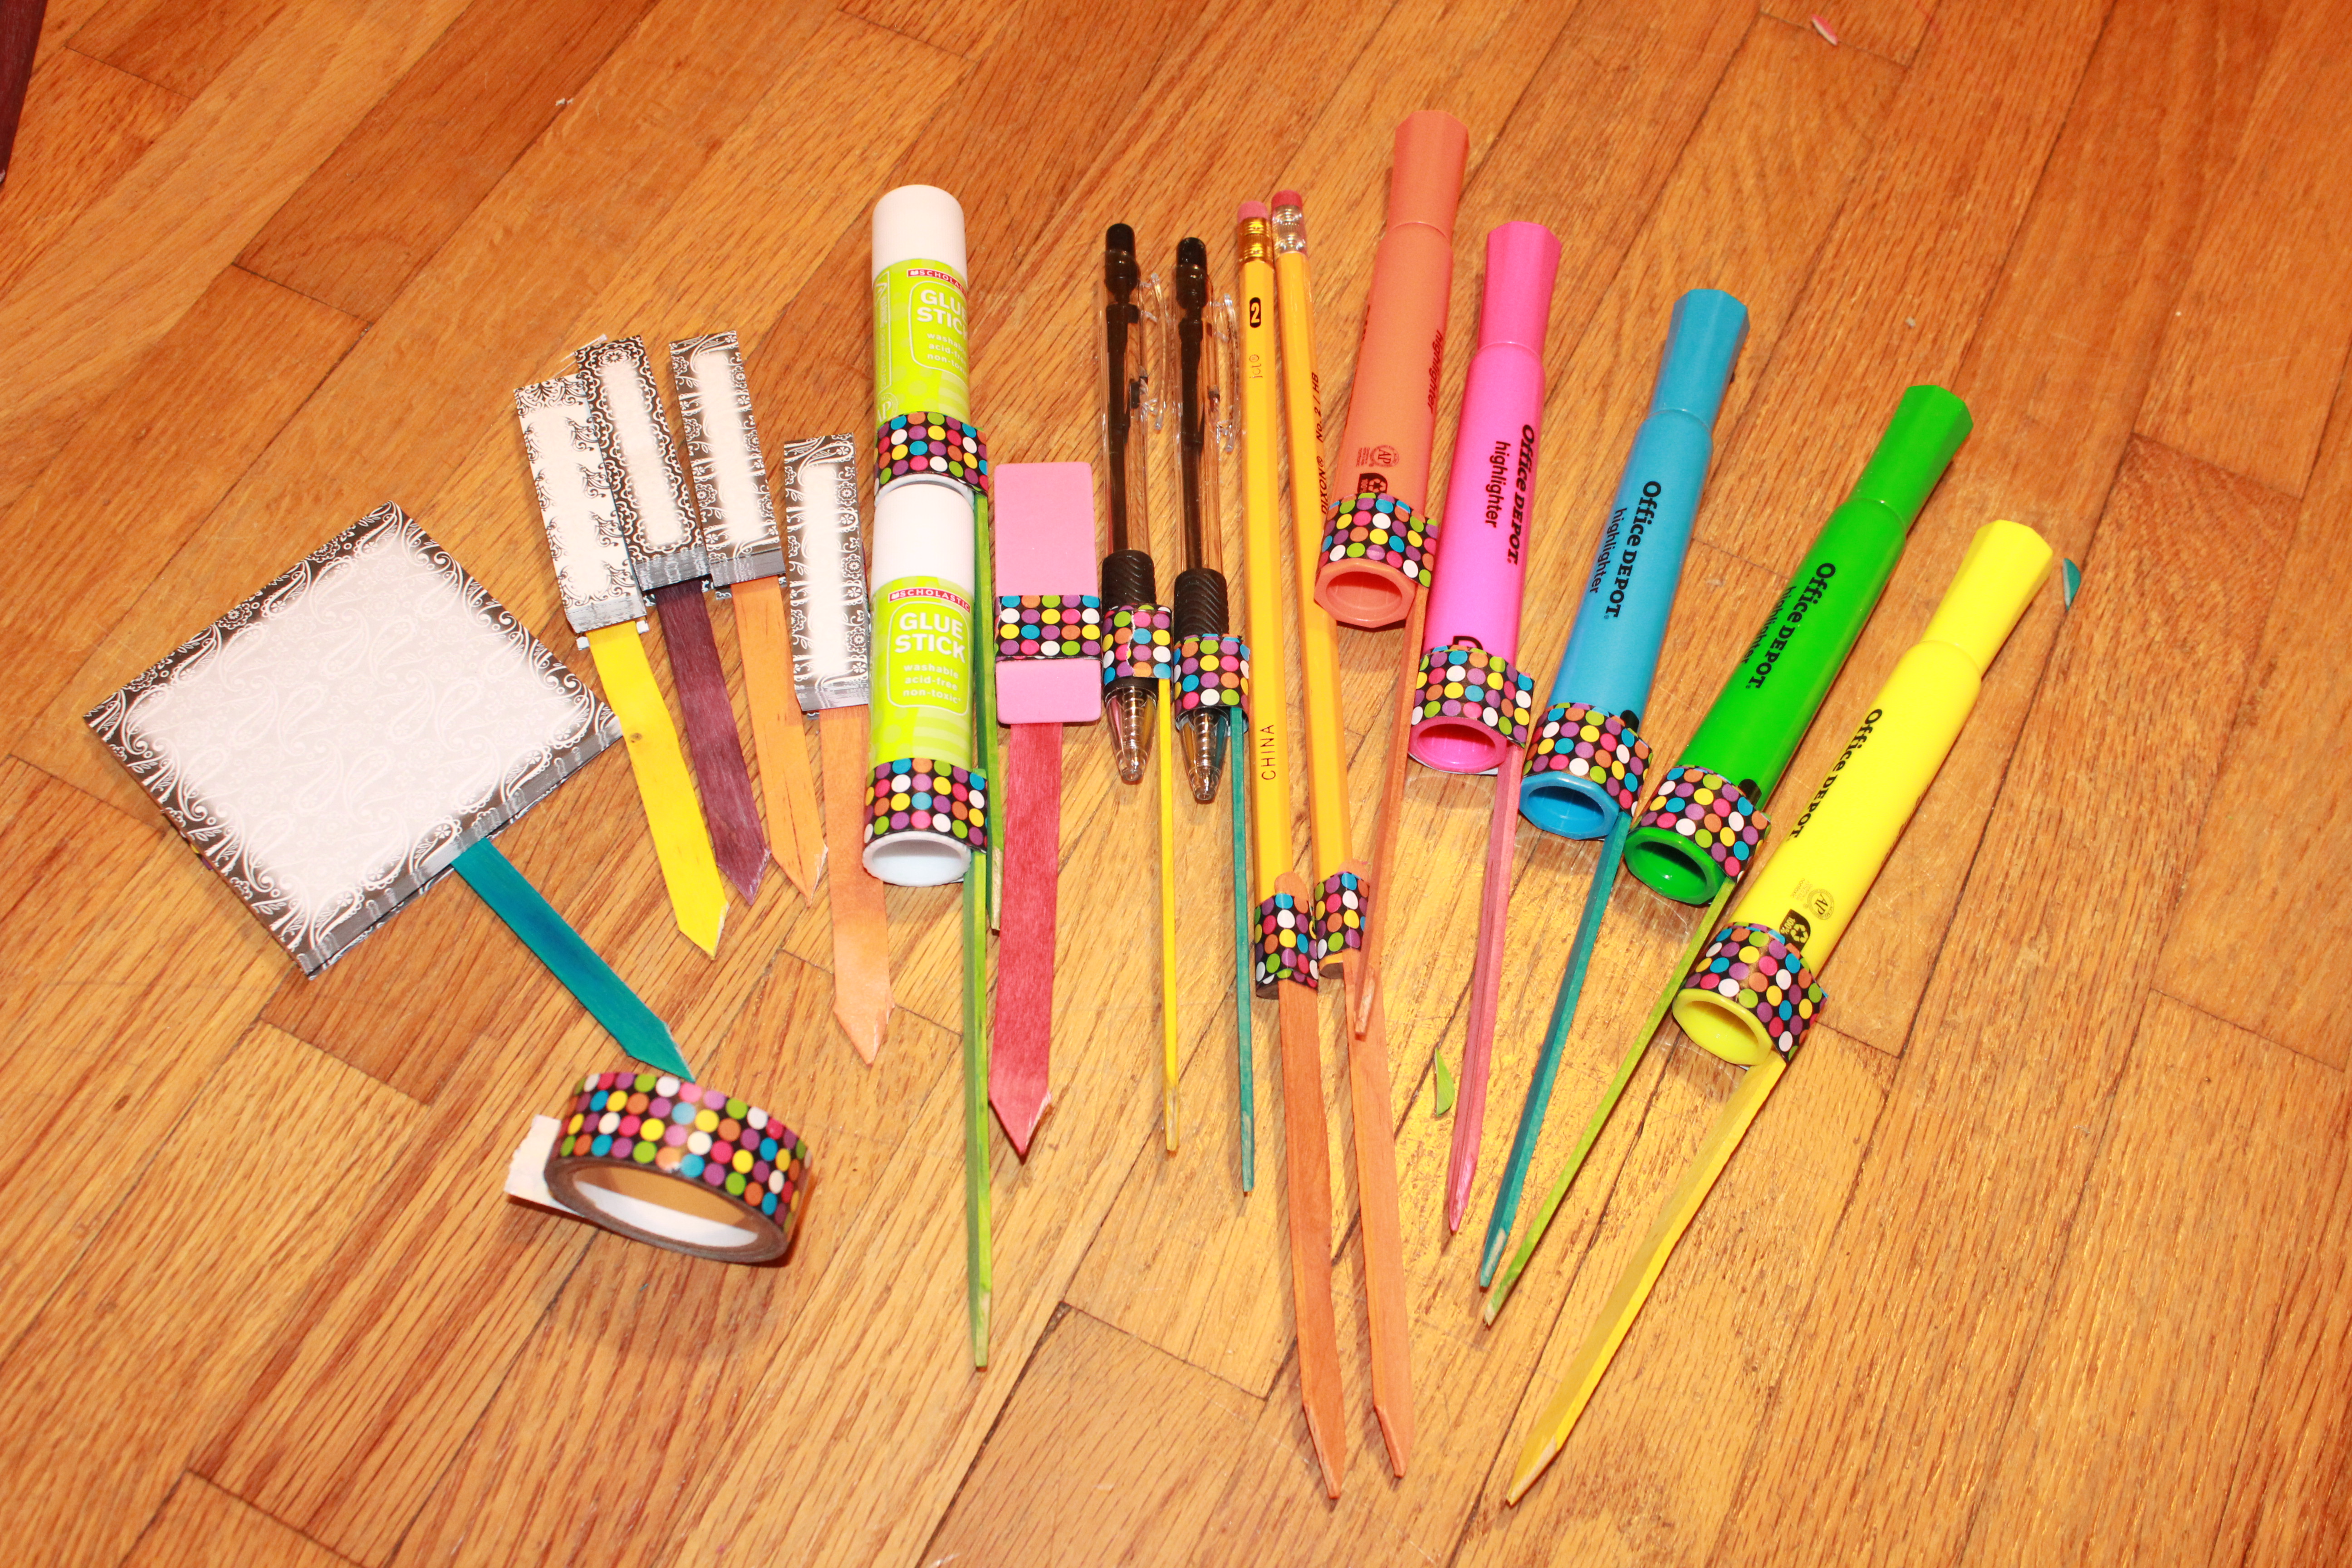 Using the tape, tape the popsicle sticks on each piece with the pointed end down. You could also use BBQ Skewers here instead.
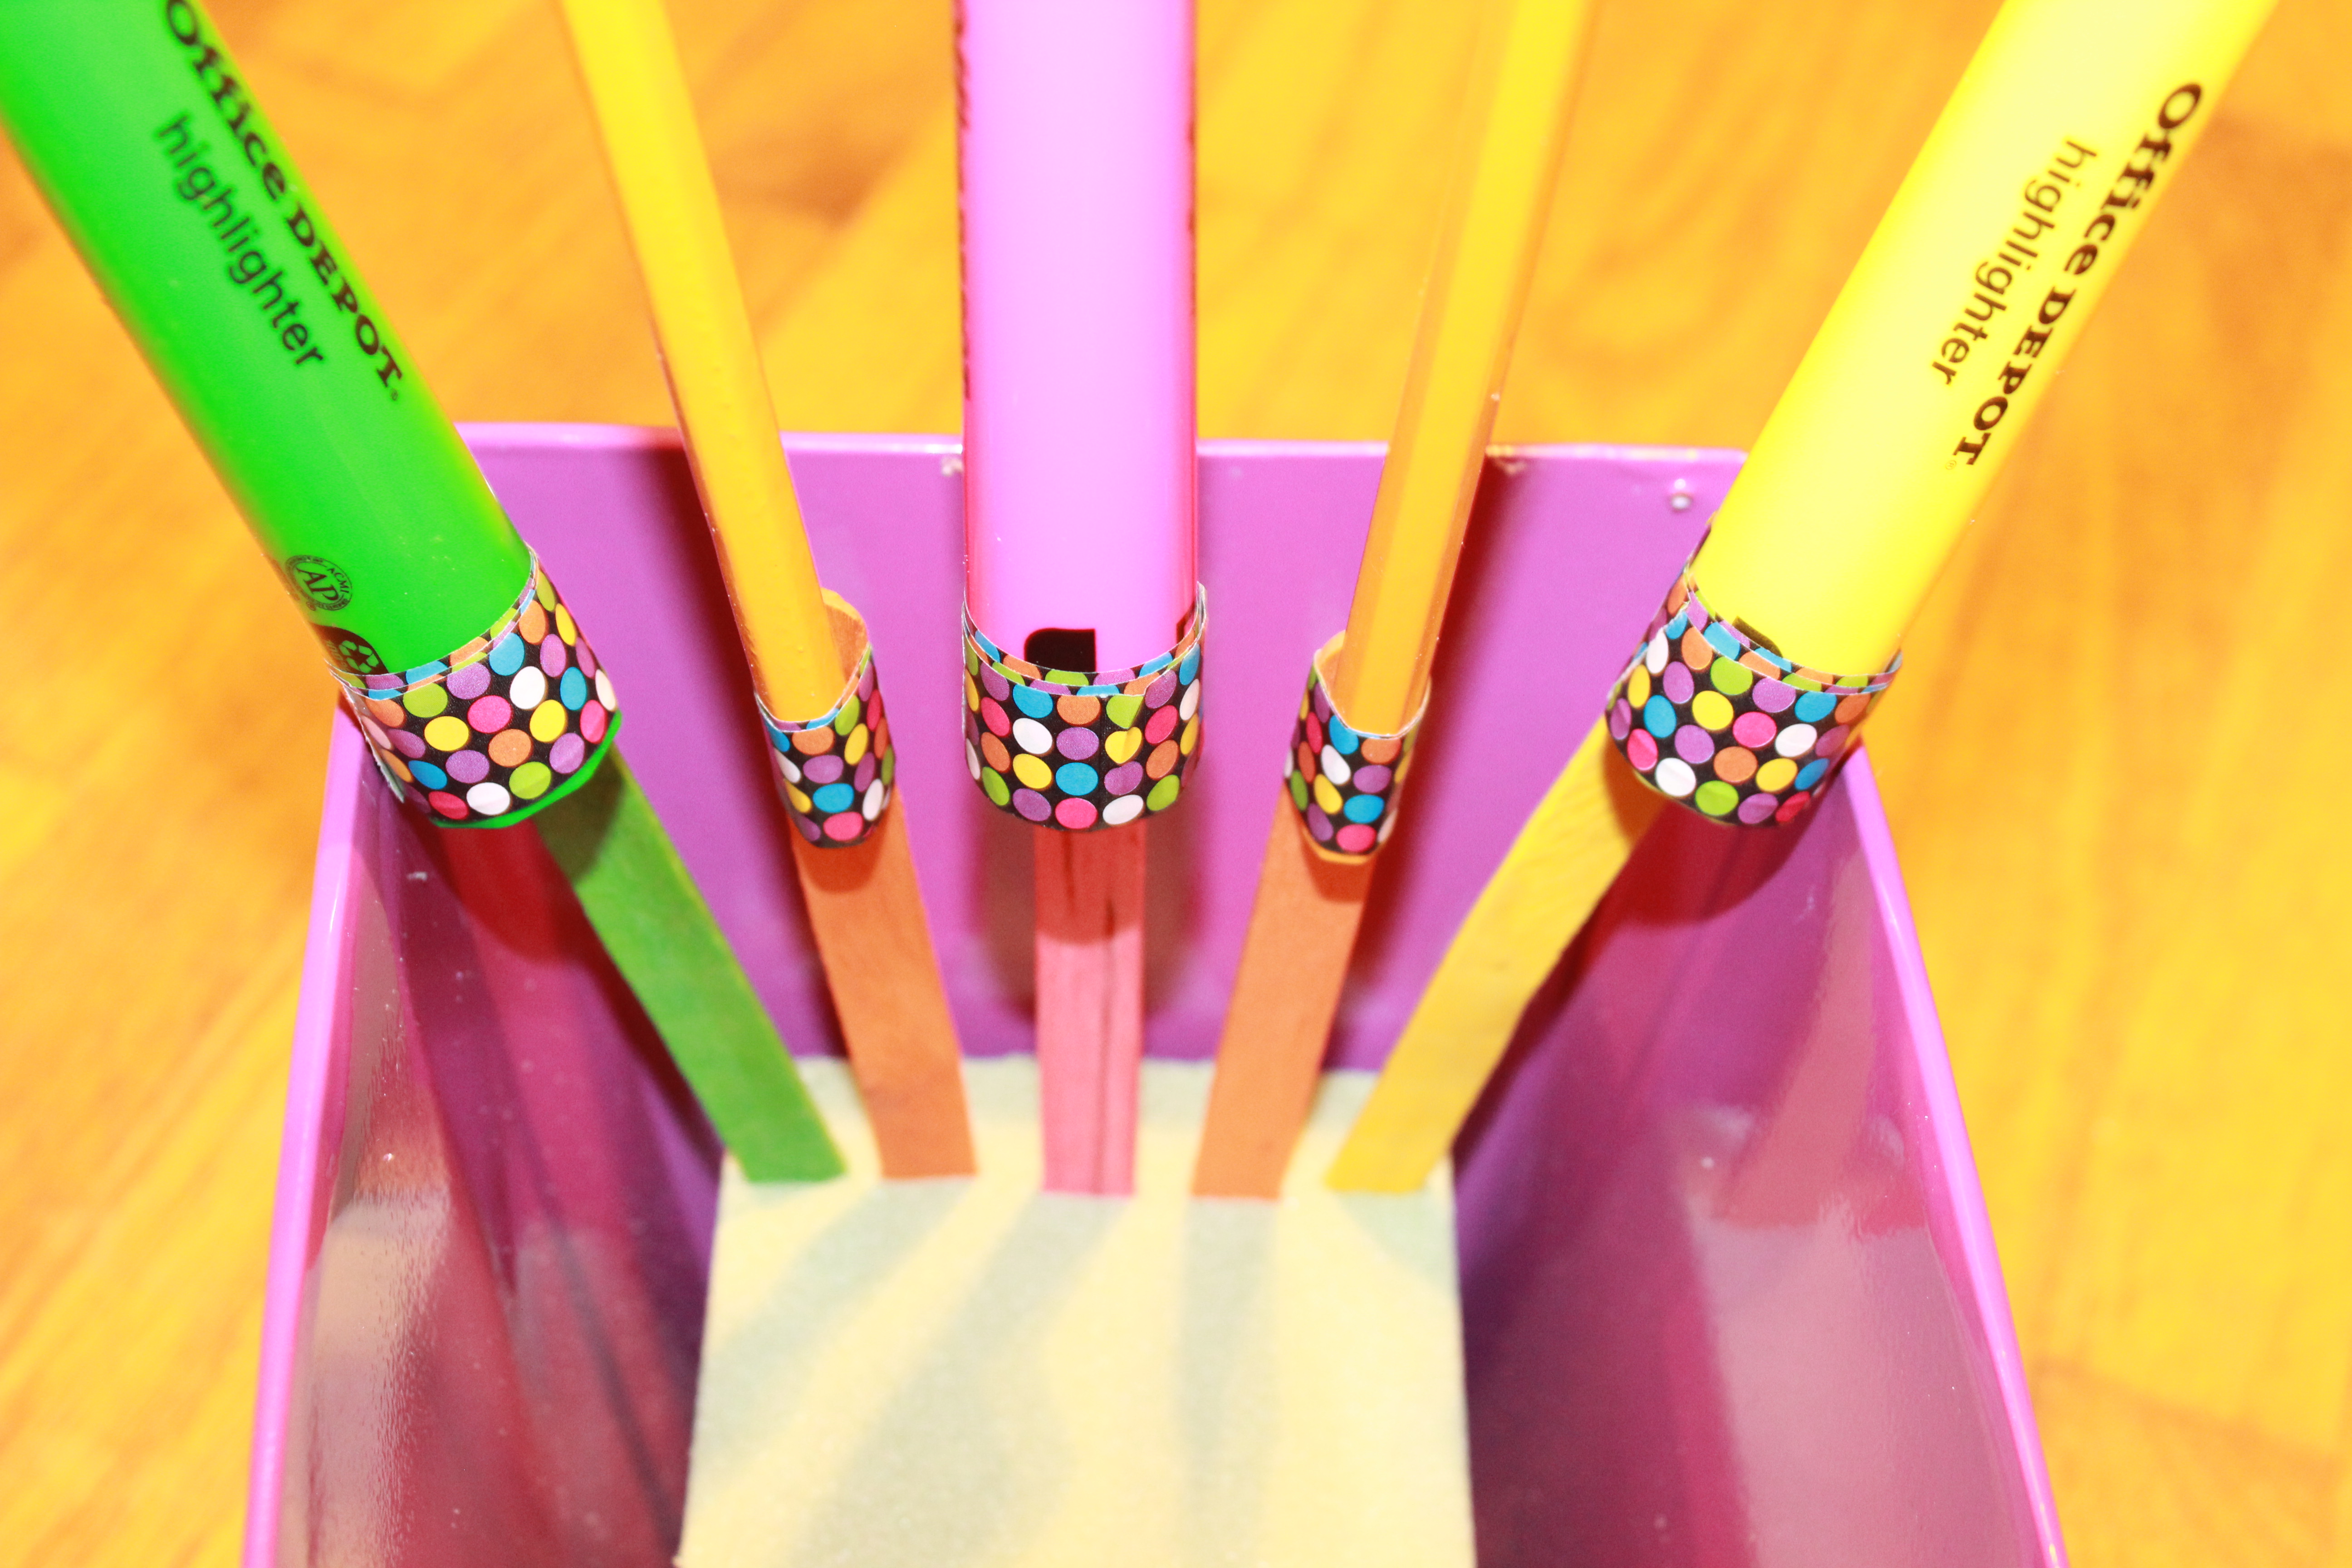
Now for the fun part! Adding all the school supplies. Just push them in far enough they won’t go anywhere.
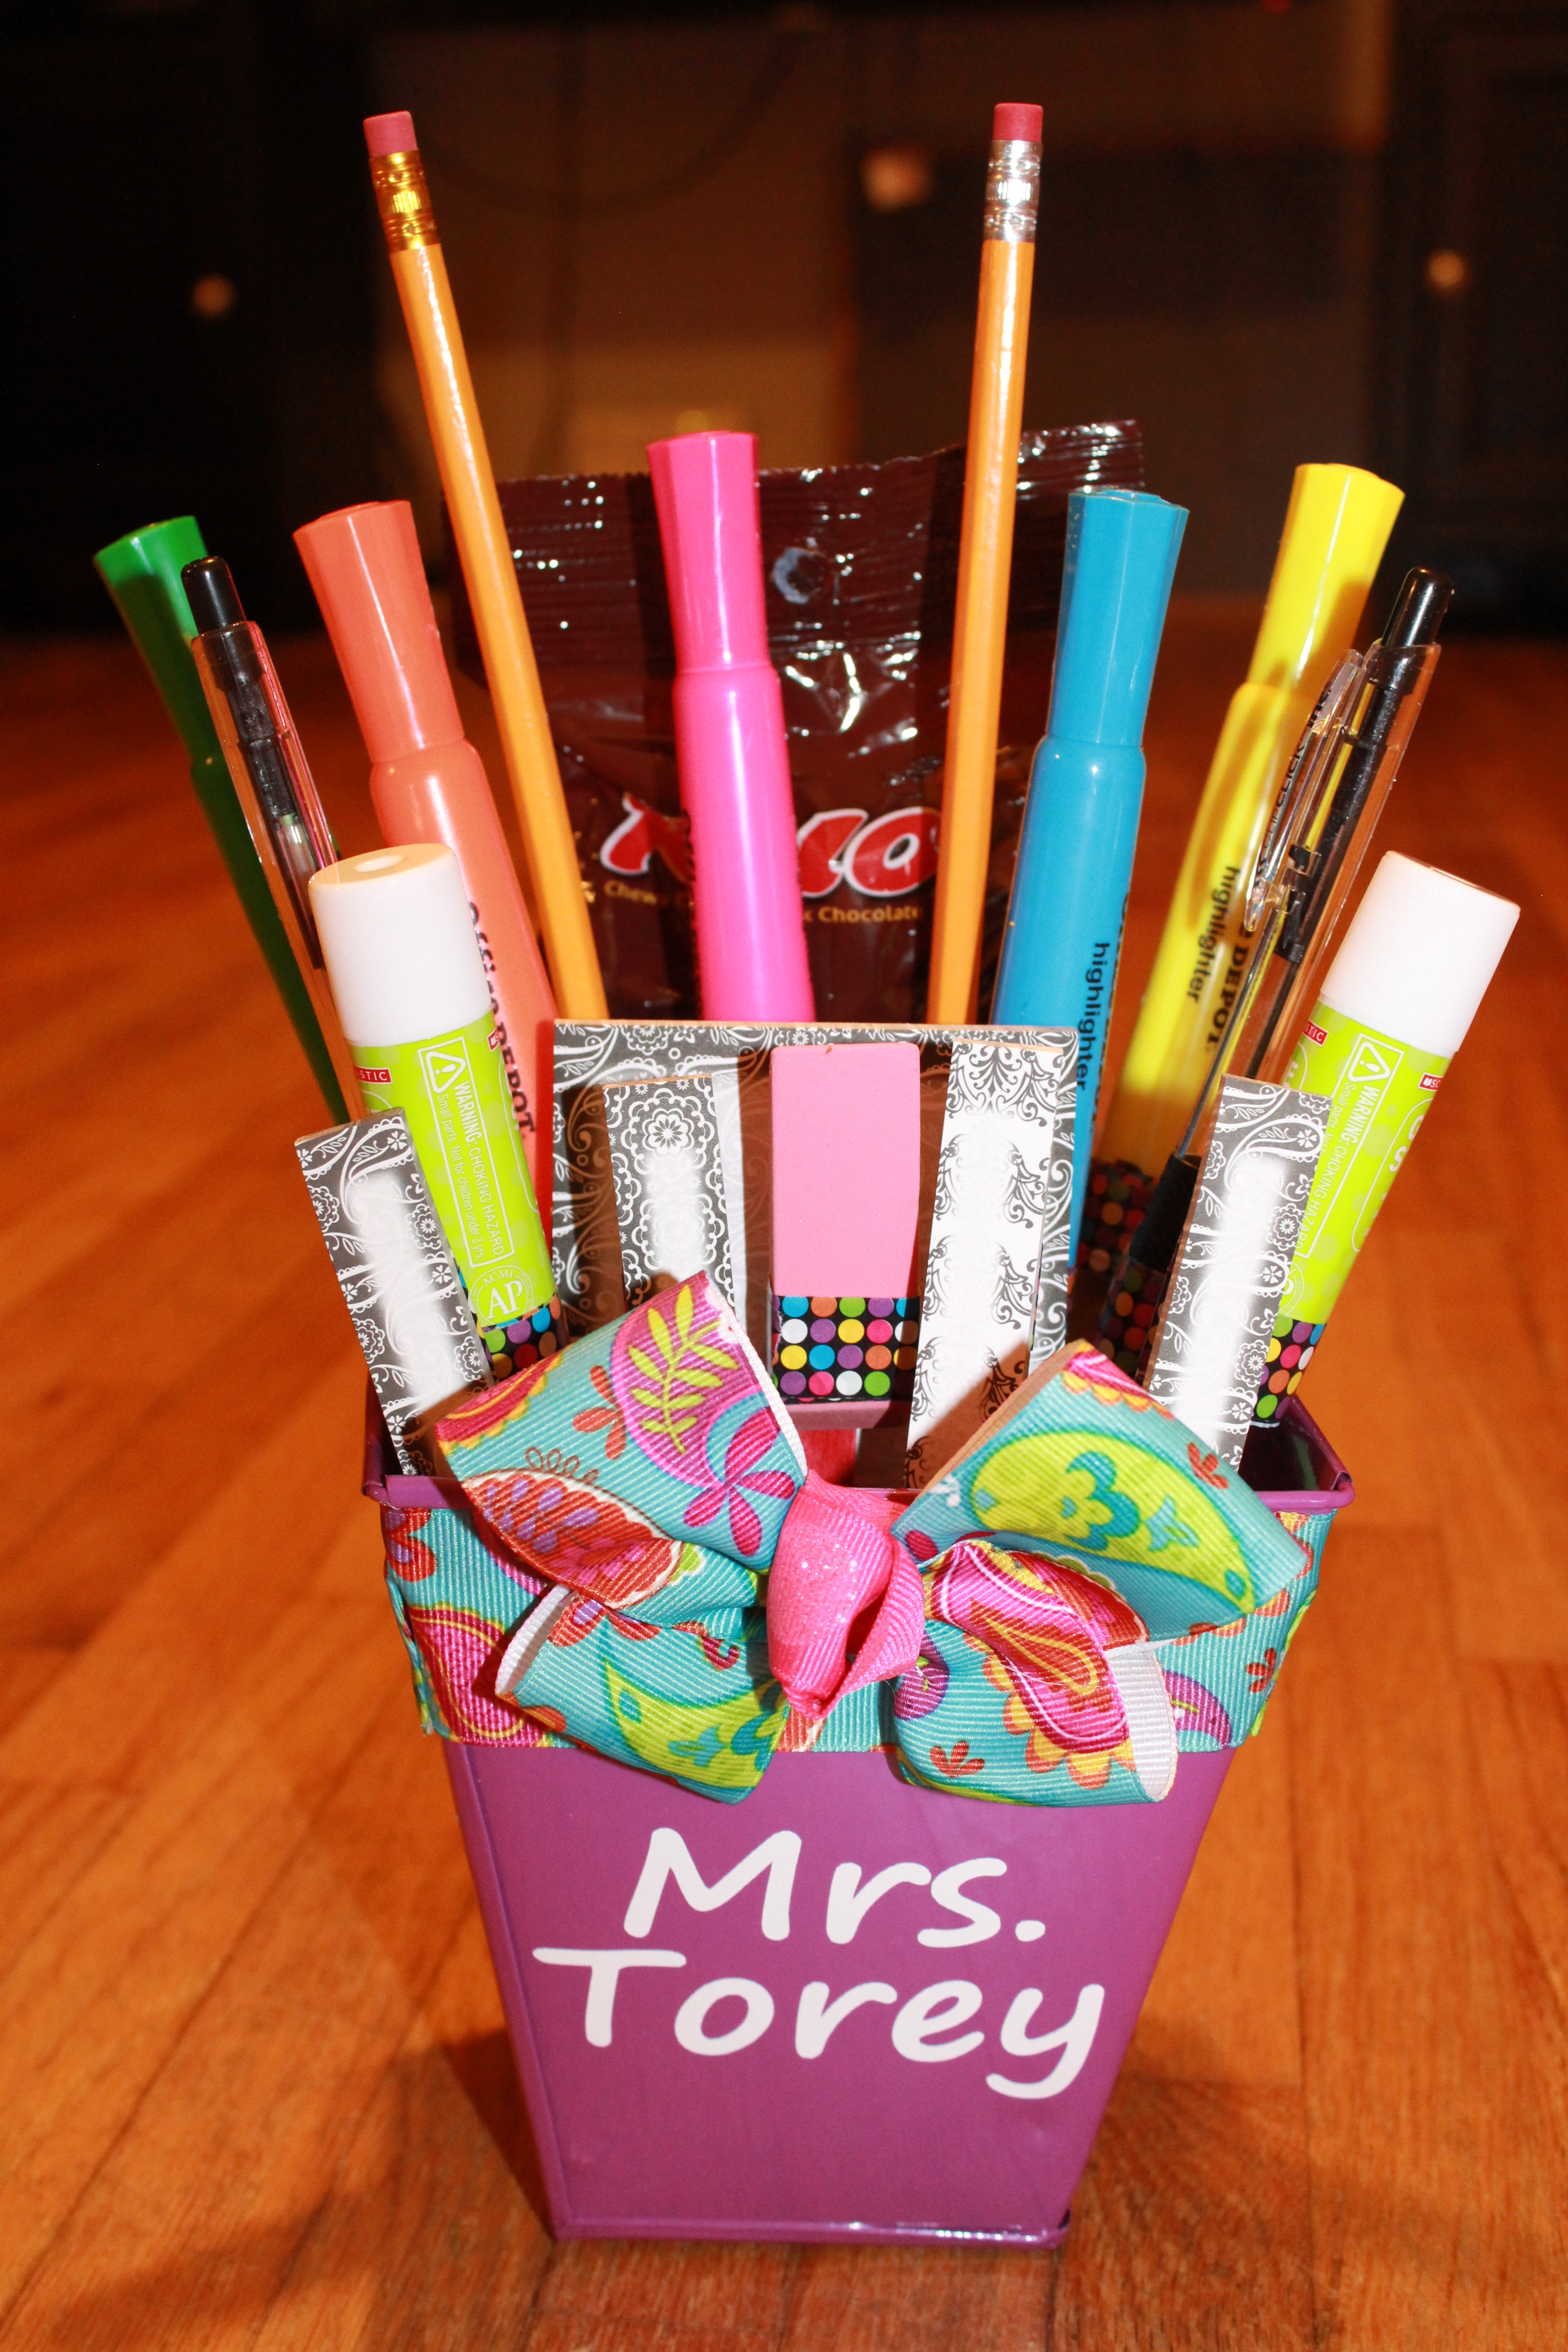
 The girl’s teachers loved them! And they were super proud to give them a gift on the first day of school too. This gift only cost me around $5 thanks to the amazing deals we have here for back to school sales! Would love to see your finished project if you make one!
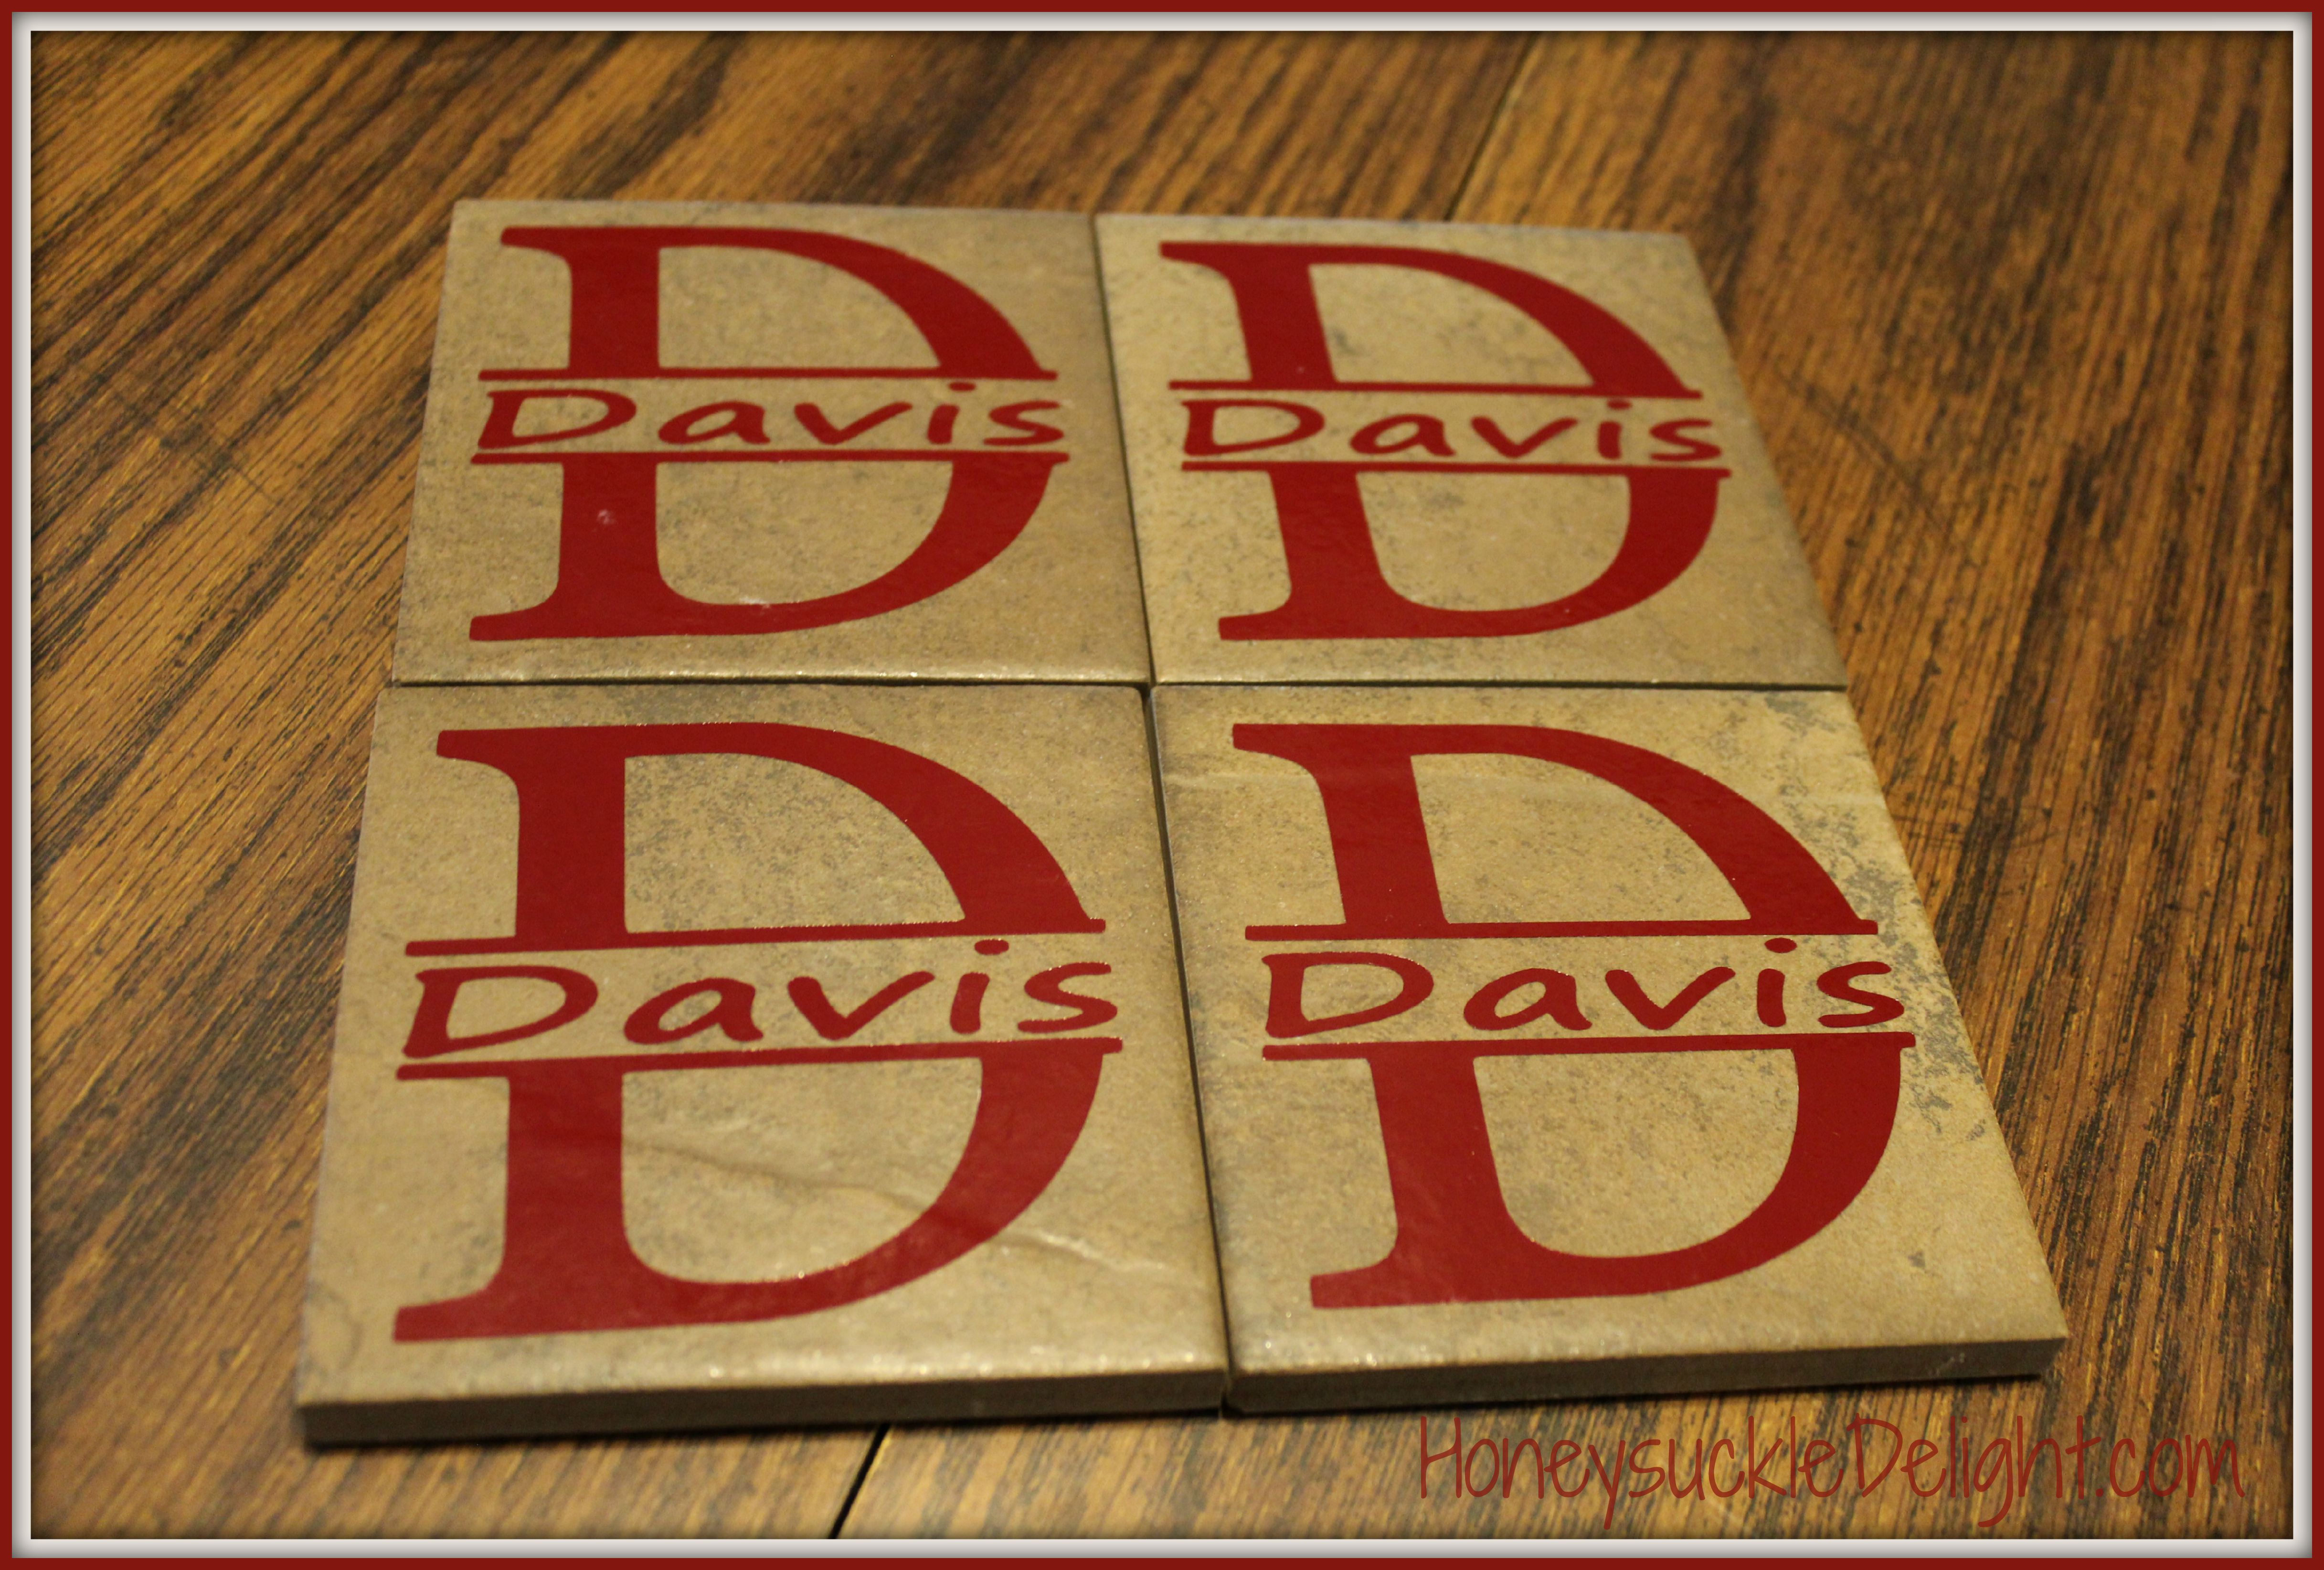
Wedding Gift Personalized Coasters
Every time I need a wedding gift, this is one of the things I make first. Monogramming everything is the craze these days, but just think about how even more exciting it is to have your new last name on everything right when you get married! This super easy craft is also good for any gift not just weddings. I have a friend that has me make them for her every Christmas for her kid’s teachers. I even made them for myself and still love them!
Supplies Needed:
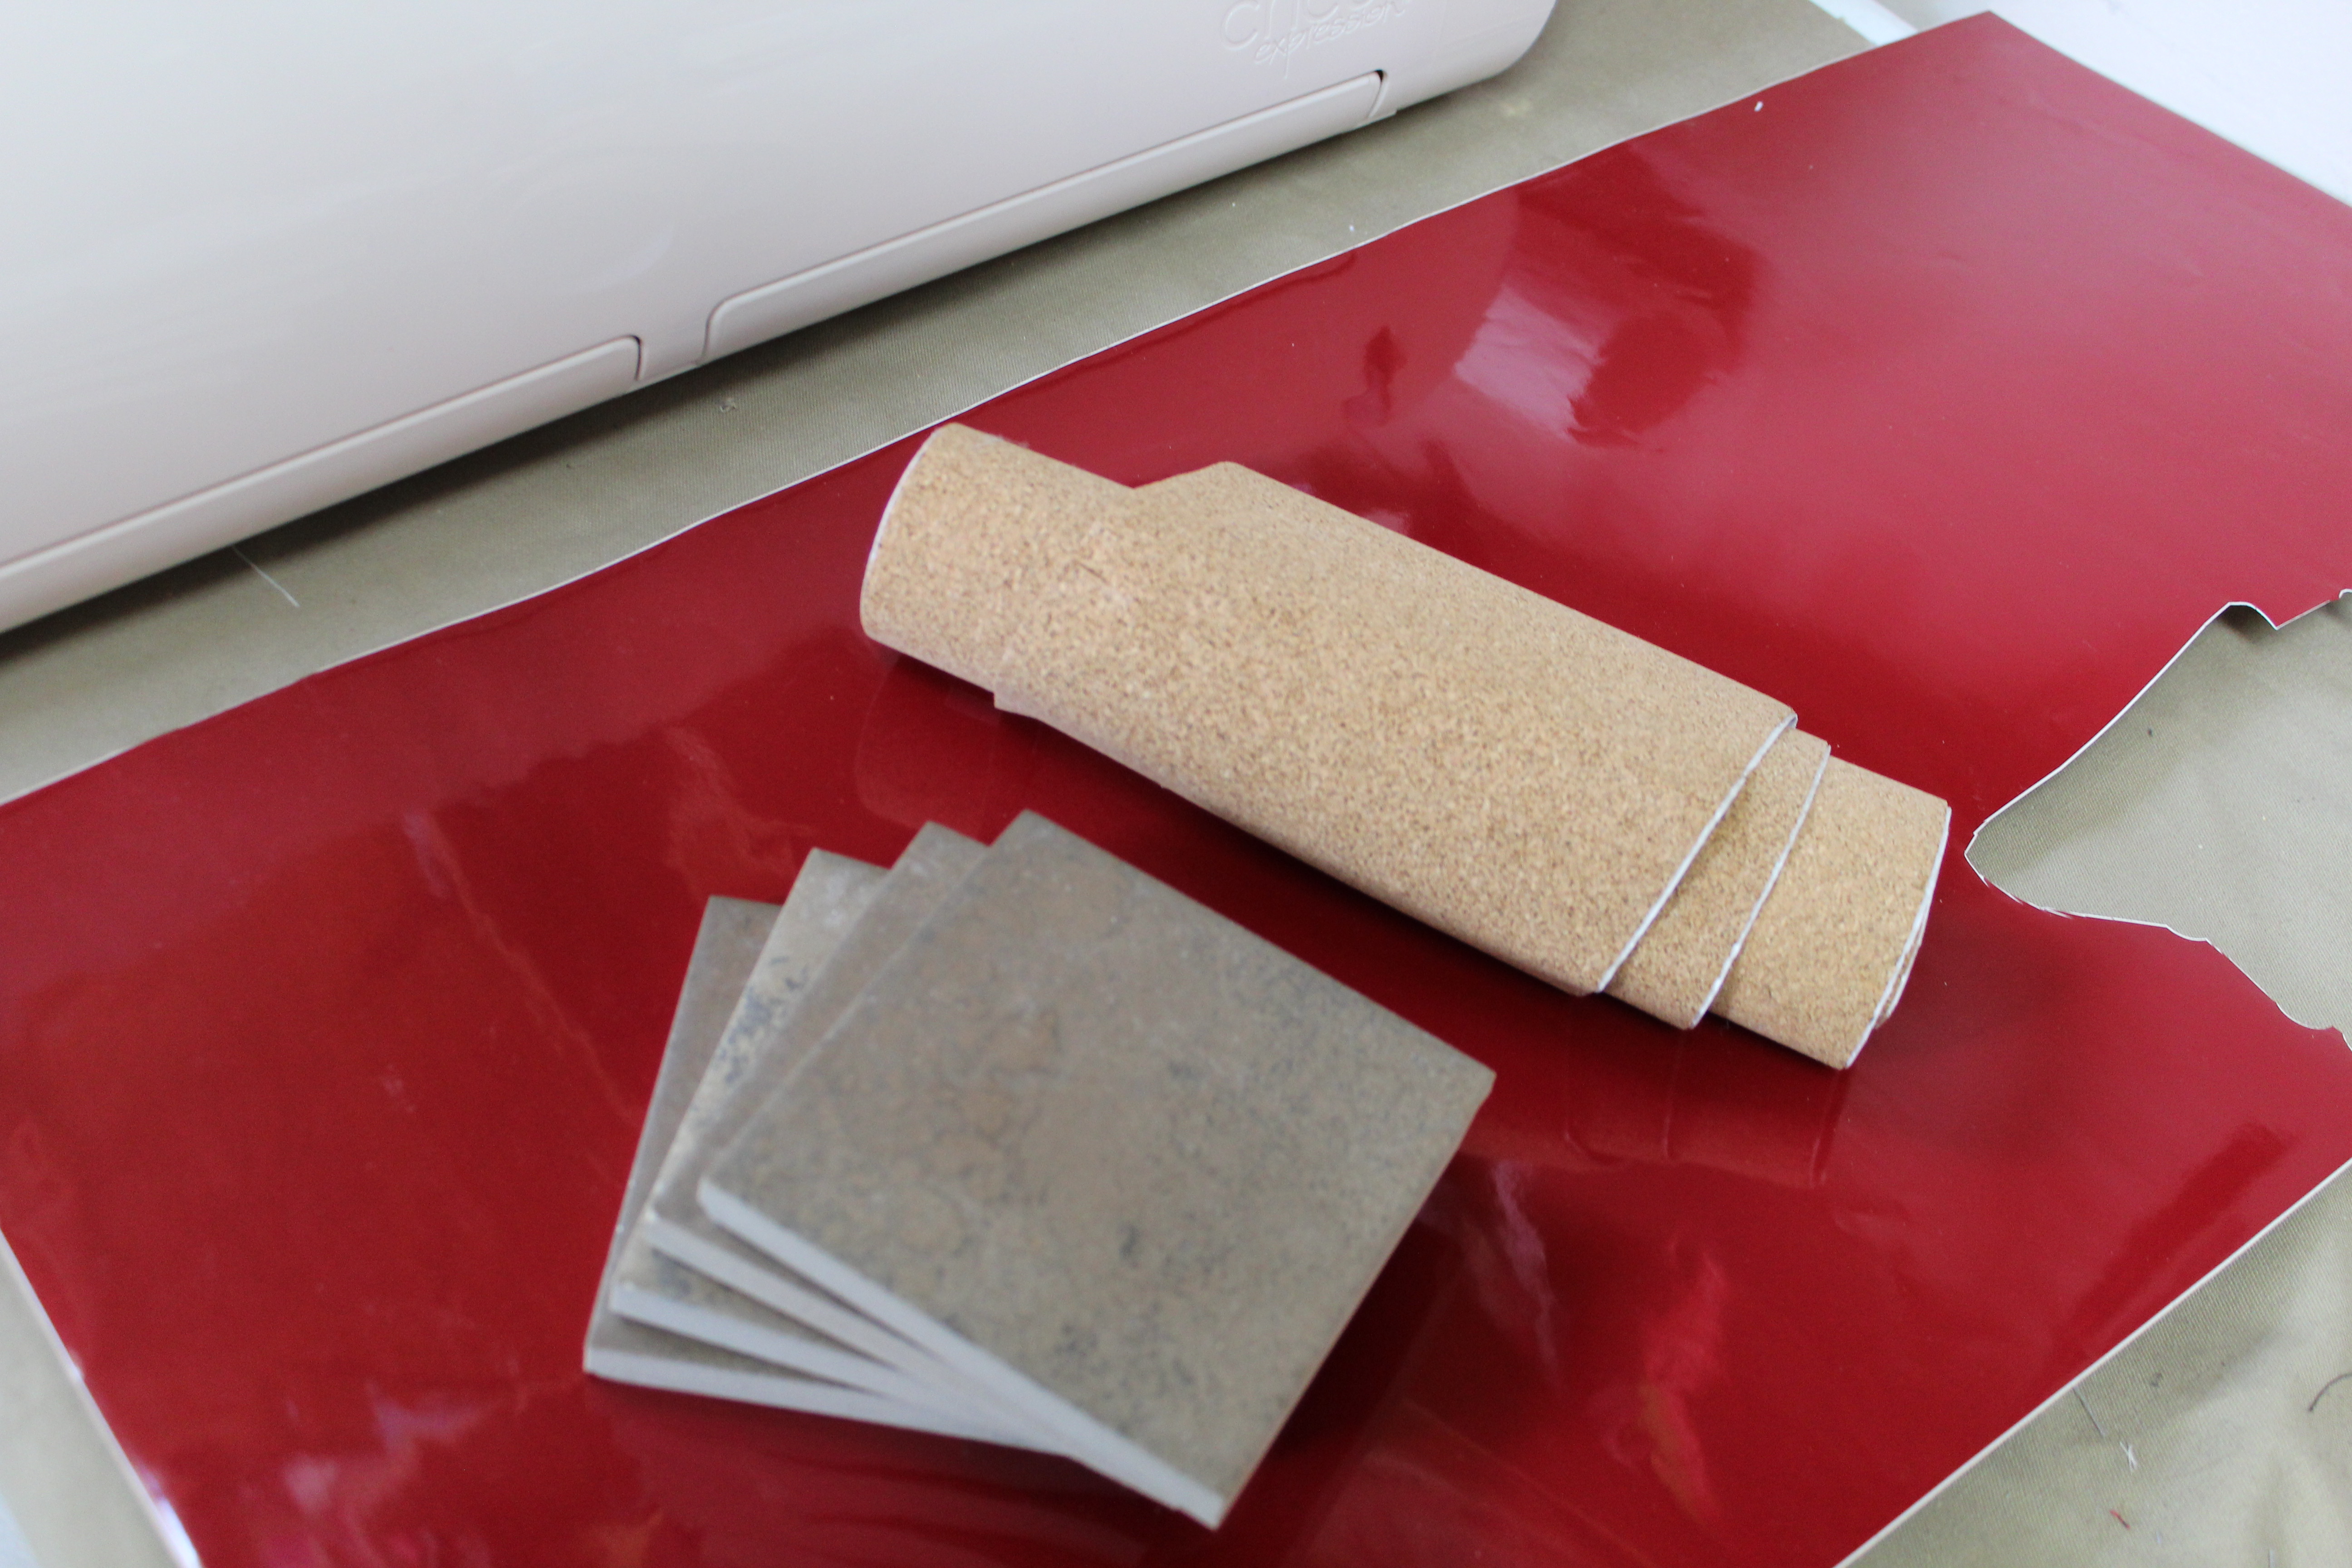
4 Coasters (these came from Home Depot)
Cork
Vinyl
Contact Paper
Twine or Ribbon
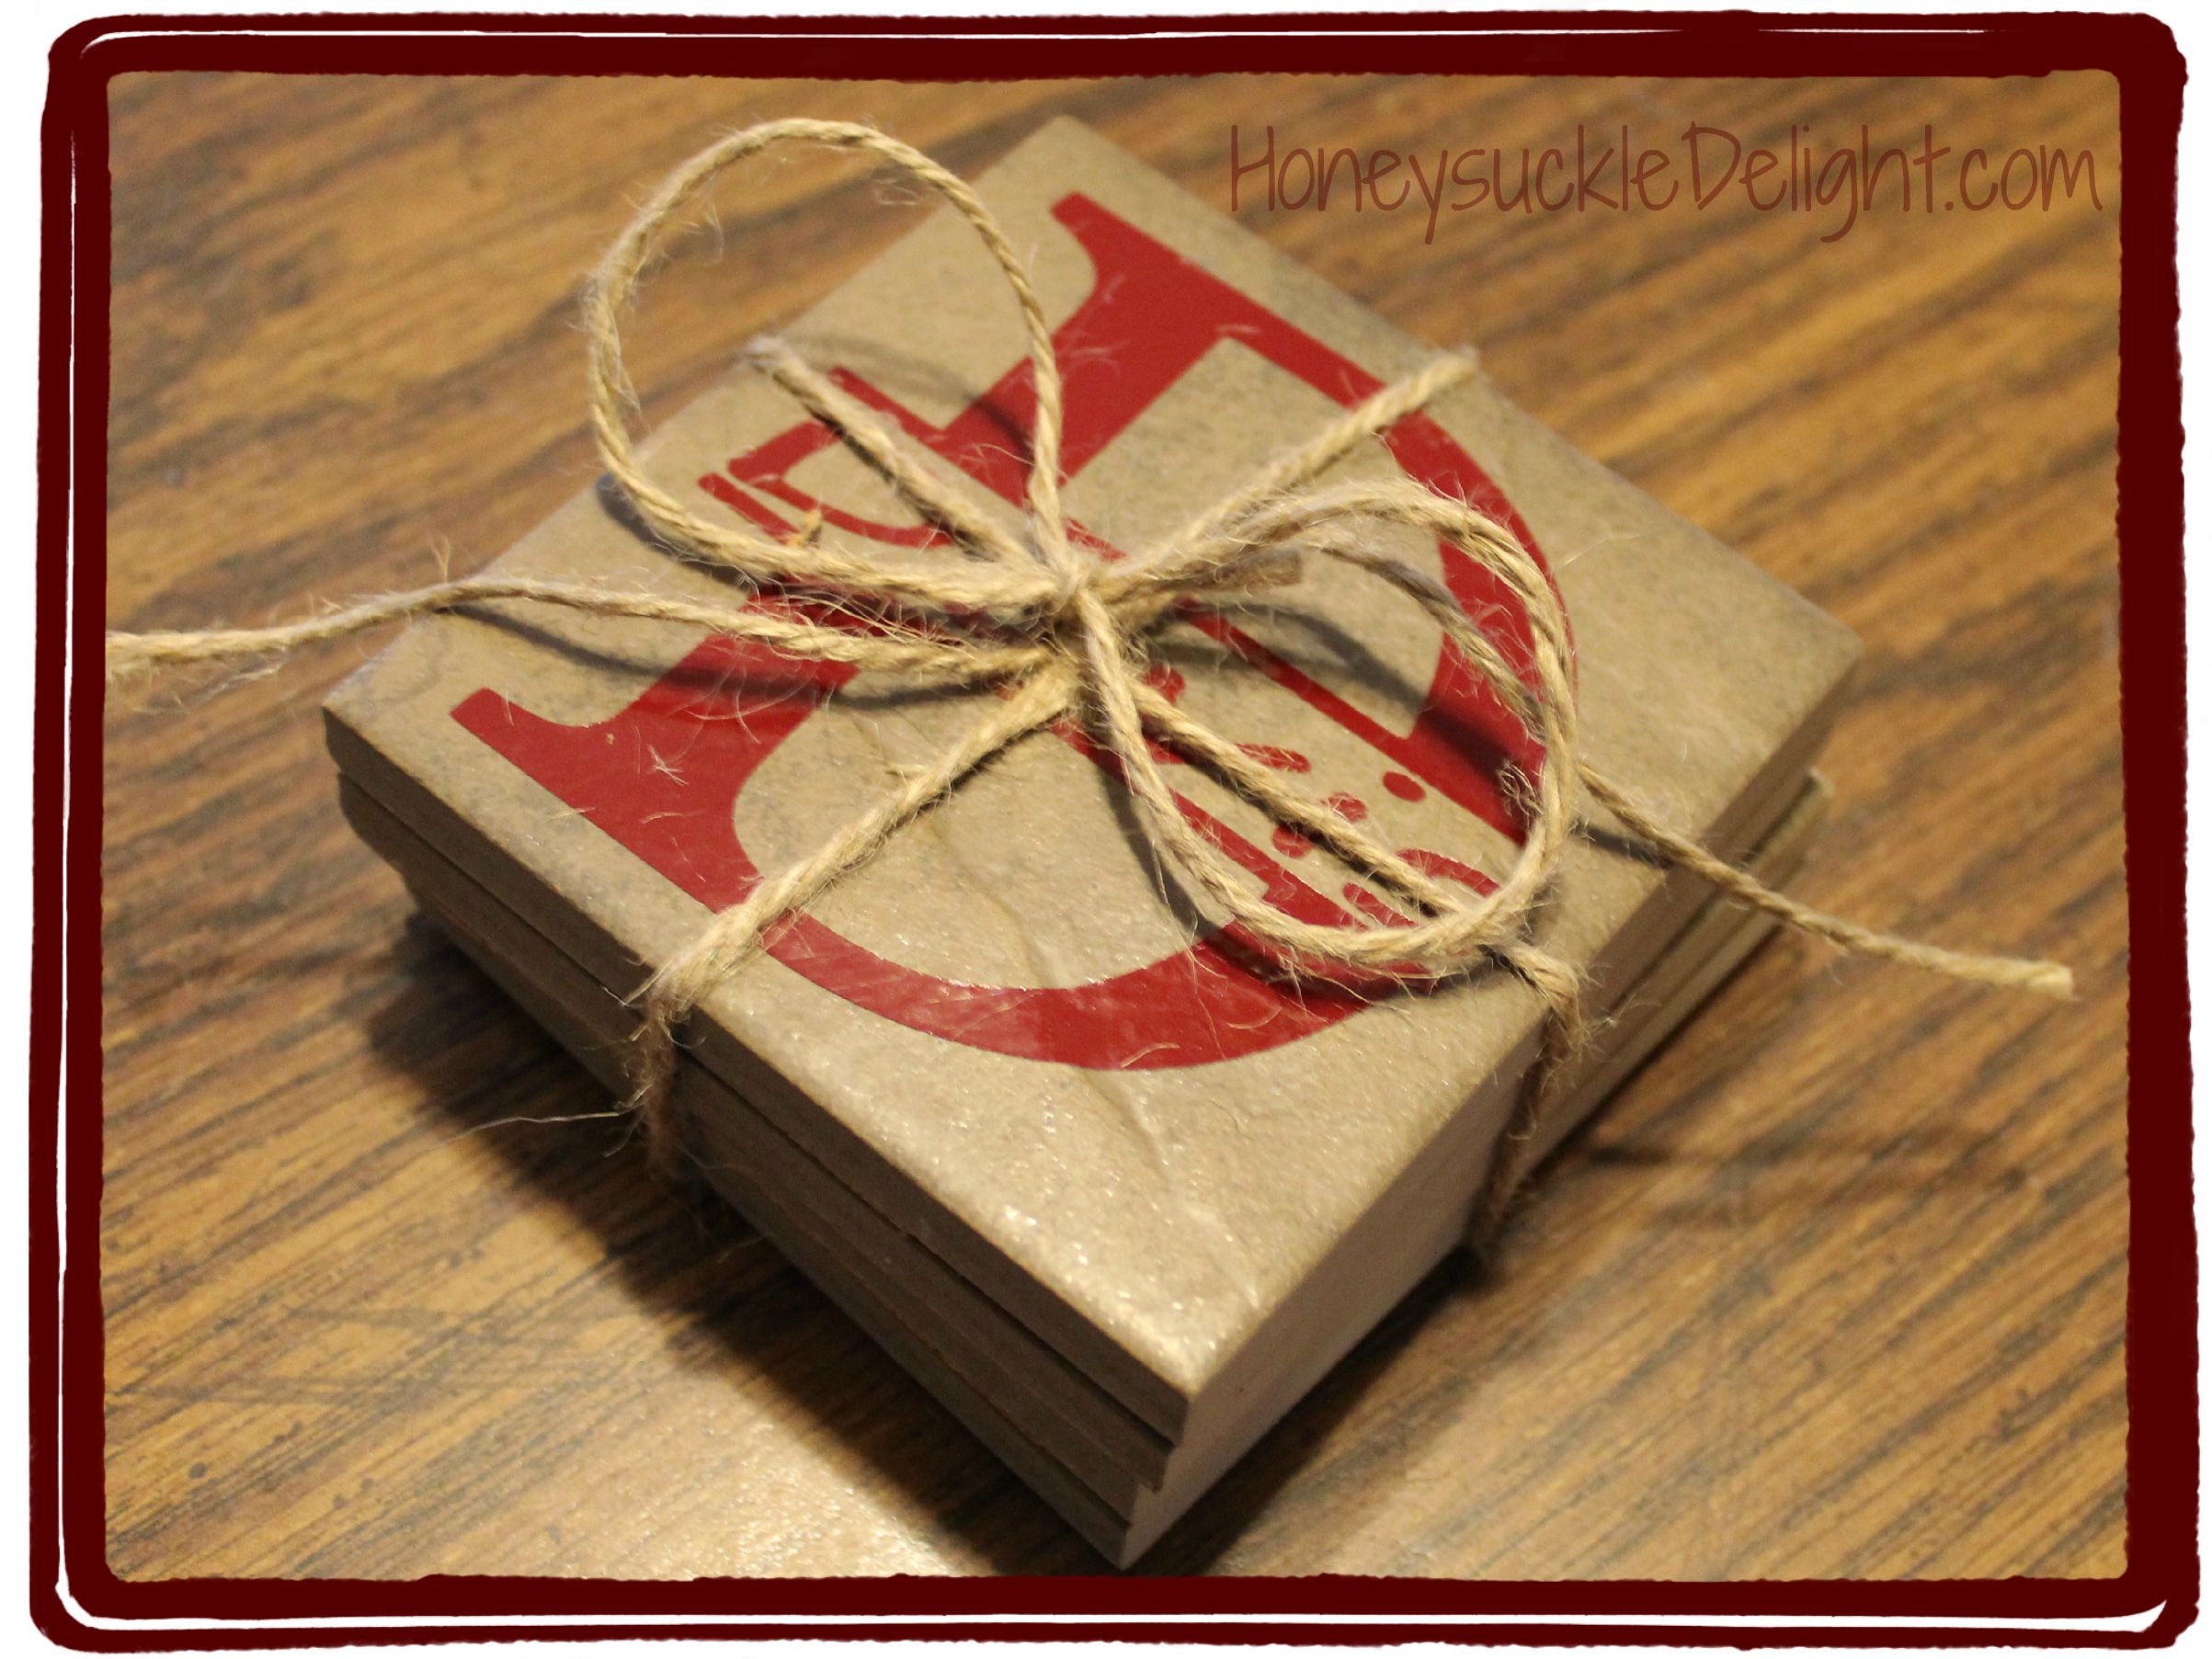
Start by cutting out your vinyl. I used my cricut. The letters measured 2 1/2″ x 2 1/2″. Weed your vinyl by carefully pulling away all the excess vinyl. Be very careful as you get to each new letter and especially pay close attention to the dot in the I! It is super easy to lose….don’t ask how I know that! Lol
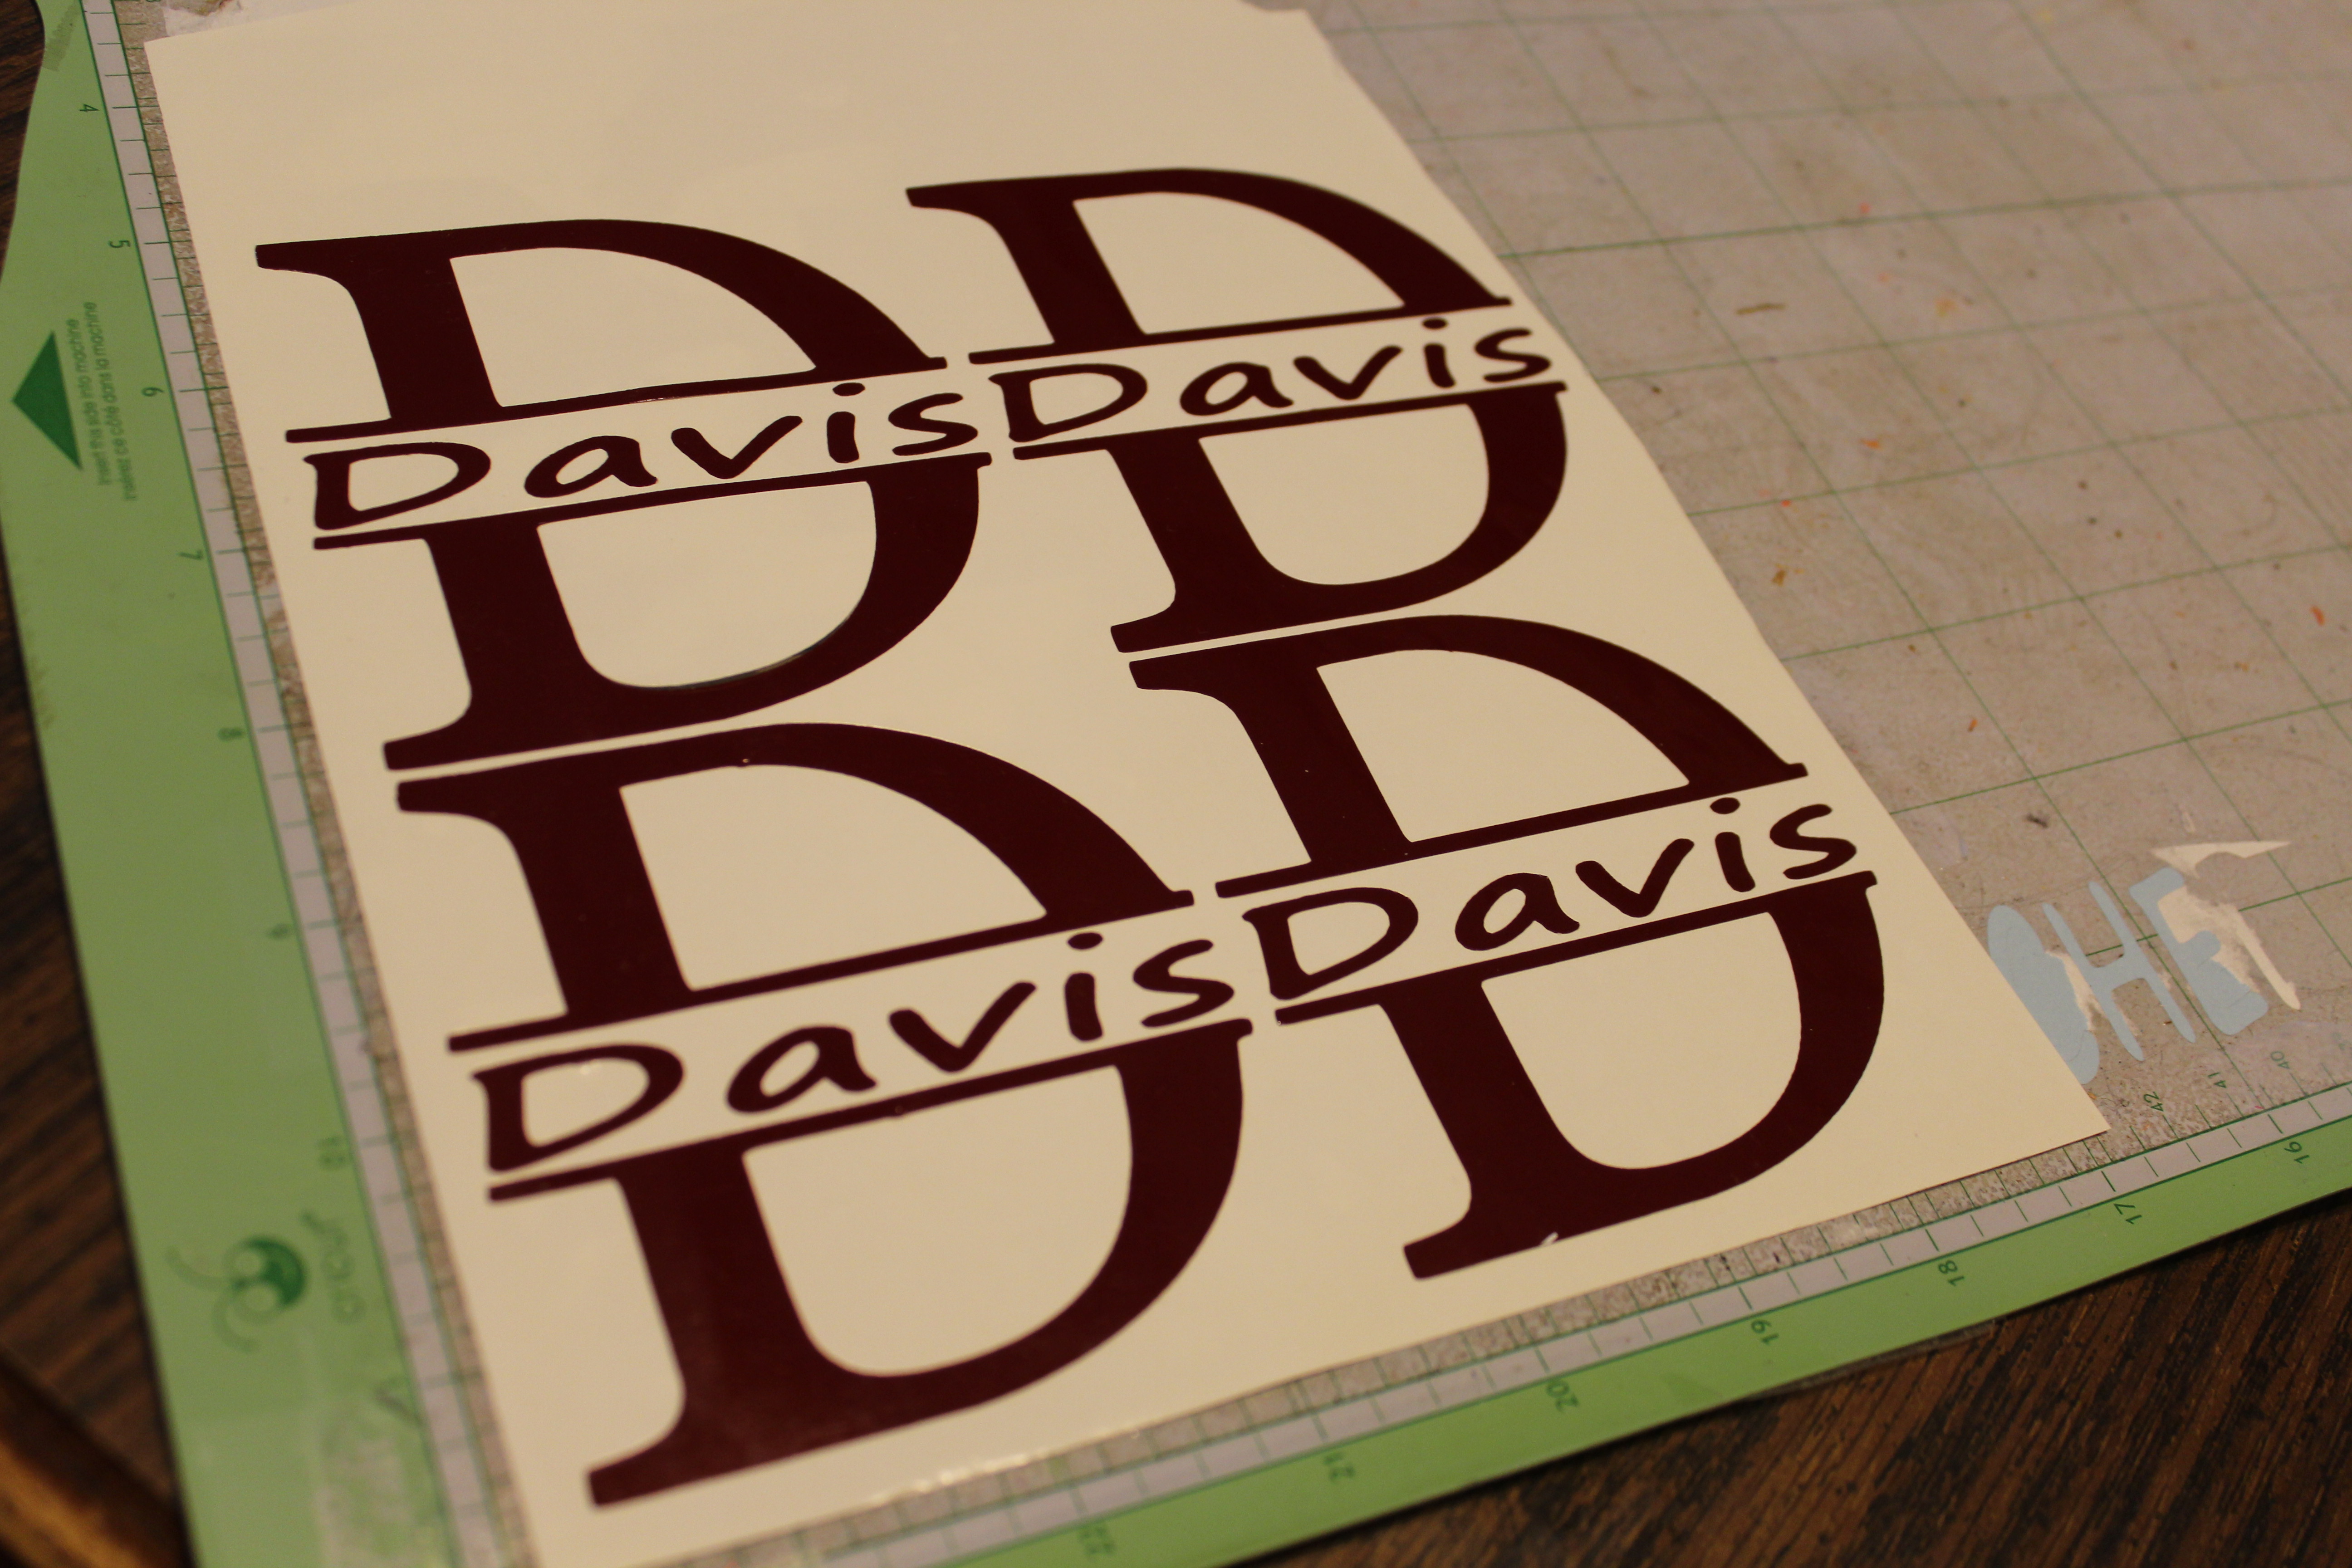
Now carefully peel off each name using the contact paper. Then transfer it to the top of the coaster. These letters were almost as big as the coaster so it was fairly easy to get them straight.

Once you are done with the vinyl you are ready to start putting the cork on the bottoms.
I got my roll of cork in the aisle with the contact paper at Home Depot. I know they also have this at Lowe’s and Walmart. But in my experience it is always really close to the same price. Start by measuring and cutting the cork the same size as the tile.
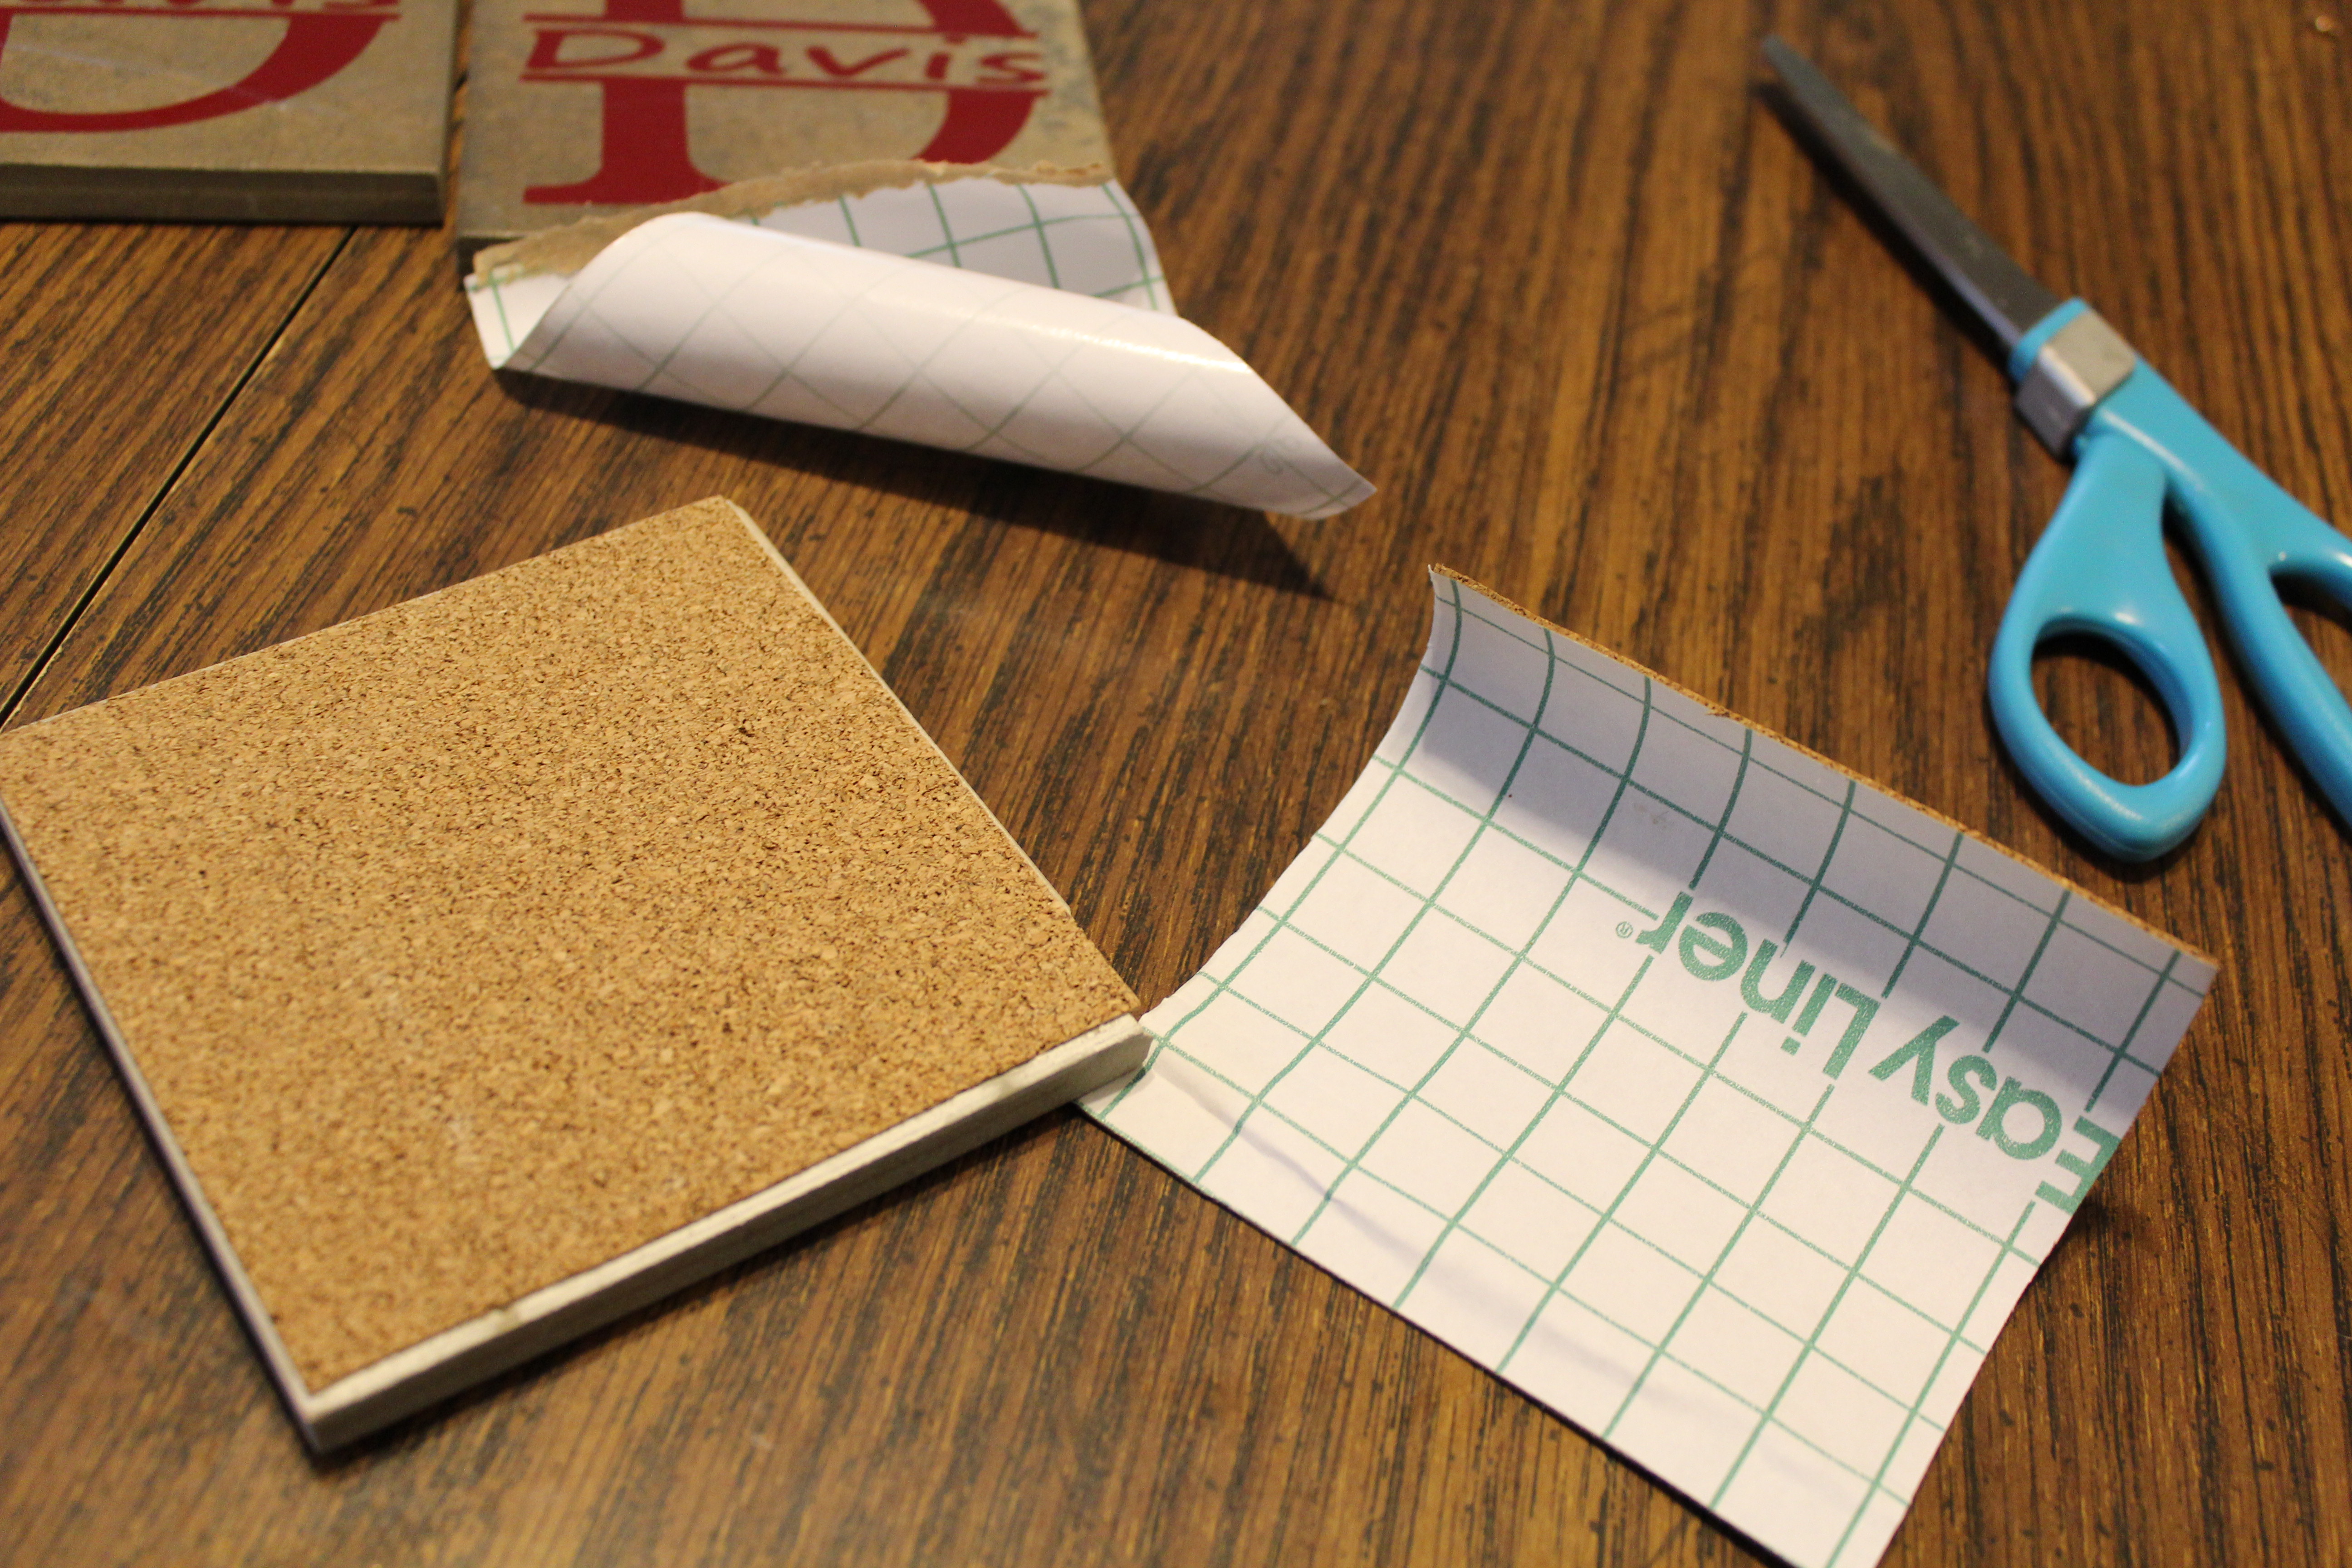
Then fold back one corner of the cork and line up the rest with the bottom of the tile. Push the corner down that you folded the backing on and carefully peel the rest of the backing off pressing as you go. Sometimes if I didn’t cut straight I will go back and cut off the excess so it’s not showing from the top.
Now stack them all up and tie them together with twine or ribbon. This wedding was a country theme so I thought the twine fit well. If I am making it for Christmas gifts, I like to tie it with Christmas ribbon.
